Follow Me On Social Media!


Soft Chewy Milk Mochi: Your Path to Pillowy Perfection
Introduction to Soft & Chewy Milk Mochi: The Ultimate Homemade Guide to Pillowy Perfection
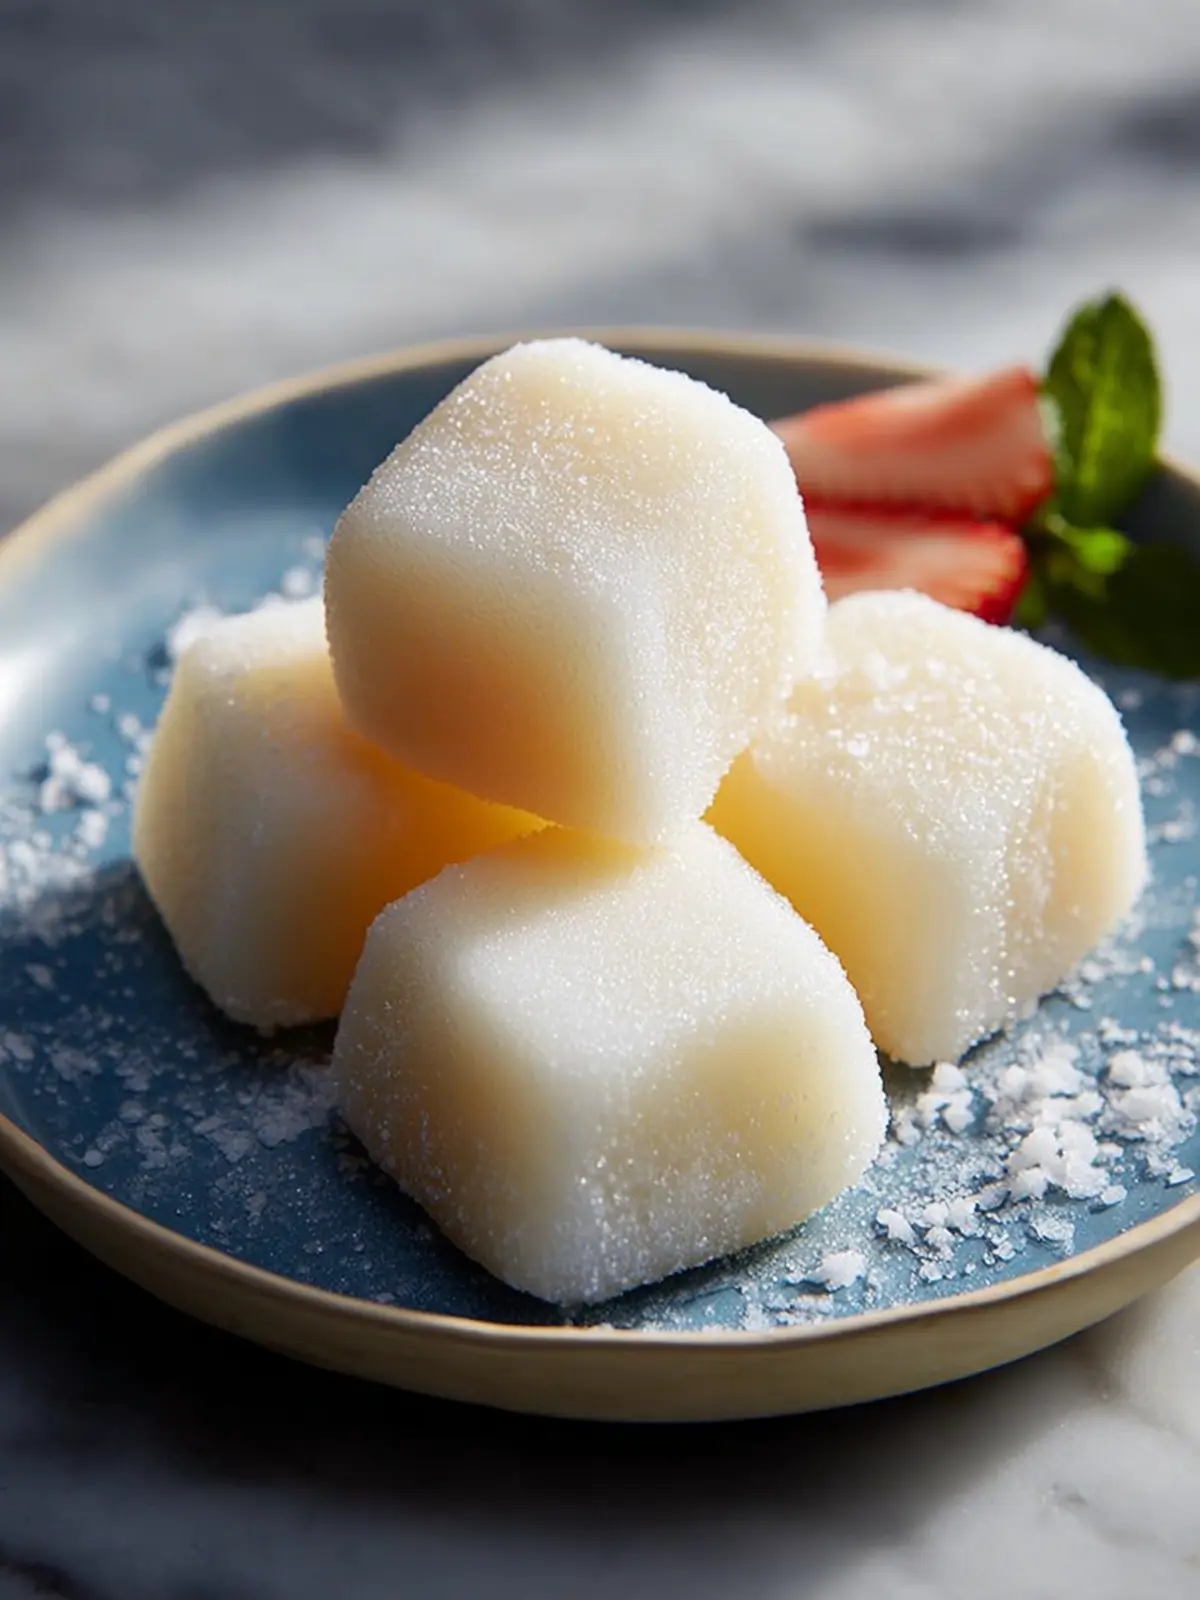
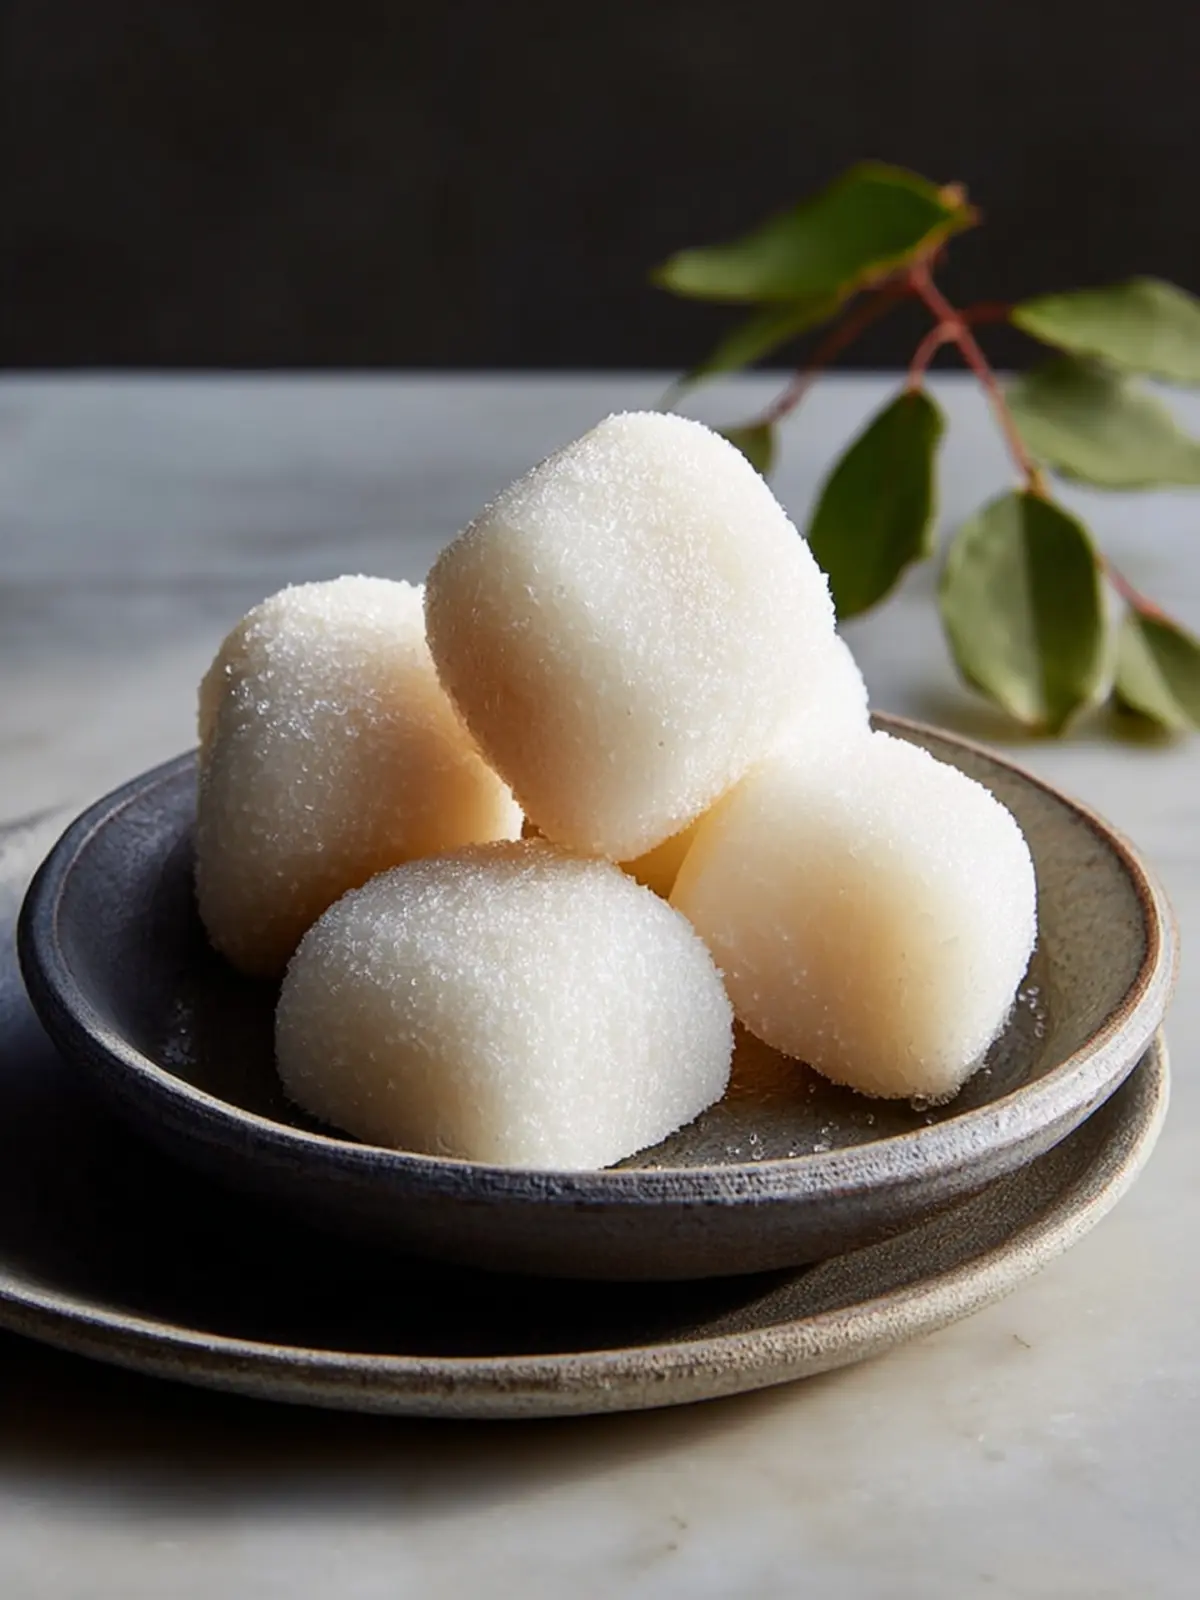
Experiencing the delightful texture of soft and chewy milk mochi is like a tender hug for your taste buds. This beloved Japanese treat is not only a feast for the senses but also a nostalgic indulgence that recalls carefree days spent exploring local markets filled with flavorful snacks. If you’ve ever bitten into a pieces of mochi and marveled at its pillowy softness, you’re in for a treat—because making it at home is easier than you might think!
Crafting your own soft and chewy milk mochi allows you to infuse unique flavors and enjoy this treat fresh from your kitchen. Unlike dry, commercial versions, homemade mochi has an unparalleled tenderness that melts in your mouth, giving you the satisfaction of enjoying something truly special. Imagine the joy of pulling apart a warm, softly textured piece, revealing its gooey center, which can be filled with sweet surprises or enjoyed on its own.
What makes soft and chewy milk mochi irresistible?
-
Texture: The unique chewiness of mochi adds a playful element to your snacking experience. It’s not just about flavor; it’s about the mouthfeel. The balance between softness and chew combined with your choice of fillings makes for an addictive treat.
-
Customizability: You can tailor your mochi with various flavorings or fillings. Whether you prefer sweet red bean paste, luscious fruit, or even ice cream, the possibilities are endless. You can create an exciting spin each time you make it!
-
Cultural Connections: Making soft and chewy milk mochi is like embarking on a little culinary adventure. Whether it’s a homemade snack for yourself or a thoughtful gift for friends, sharing this treat brings people together, fostering memories that revolve around delicious food.
For a dessert that’s as fun to make as it is to eat, let’s dive into the delightful world of soft and chewy milk mochi and explore how to unlock the secrets to achieving that irresistibly pillowy perfection right in your own kitchen!
Key Ingredients for Soft & Chewy Milk Mochi
Creating soft and chewy milk mochi at home is a delightful adventure, and having the right ingredients makes all the difference. Each component contributes uniquely to the mochi’s signature texture and taste.
Glutinous Rice Flour: This is the star of the show. Glutinous rice flour, also known as sweet rice flour, gives mochi its characteristic chewy texture. I always opt for a high-quality brand, as it affects the final product’s softness.
Milk: Using whole milk adds richness and enhances the flavor. You could also experiment with coconut milk if you’re feeling adventurous, which adds a subtle tropical twist.
Sugar: For sweetness, granulated sugar is perfect. You can adjust the amount depending on your taste, but remember, a little sweetness balances the chewy texture beautifully.
Cornstarch: This ingredient serves two purposes. It’s essential for dusting the mochi to prevent sticking and contributes to creating a tender bite when cooked.
Water: A simple ingredient, yet it’s crucial for activating the rice flour and achieving that perfect chewy consistency.
With these key ingredients, you’re well on your way to crafting delicious soft and chewy milk mochi that friends and family will love!
Why You’ll Love This Recipe
Soft & Chewy Milk Mochi is not just any dessert; it’s a delightful journey into the world of texture and flavor that will leave you craving more. Imagine biting into a piece of mochi that is incredibly soft, yet has that satisfying chewiness that keeps you coming back for another piece. This homemade recipe is perfect for both beginners and seasoned bakers alike.
Here’s what makes this recipe truly special:
-
Simple, Wholesome Ingredients: Using just a handful of ingredients readily available in most kitchens, you can create a treat that rivals any store-bought version.
-
Versatility: While this recipe highlights milk mochi, feel free to get creative! You can add your favorite flavors like matcha or cocoa powder, personalizing each batch to suit your taste.
-
Joy of Cooking Together: There’s something magical about making mochi at home. Whether you’re perfecting your kneading technique or rolling them into cute shapes, it’s an enjoyable process to share with friends or family.
-
Memorable Treats: These mochi are not just delicious; they evoke memories of cultural festivities and the warmth of home. Sharing these with loved ones is guaranteed to create sweet new experiences.
Expect to enjoy a soft, chewy, and utterly satisfying treat that not only satisfies your sweet tooth but also gives you a fun activity to engage in!
Variations
Exploring the world of soft & chewy milk mochi is an adventure in texture and flavor. If you’re feeling creative, here’s how you can put a personal twist on this delightful treat.
Flavor Infusions
-
Matcha Madness: Incorporate matcha powder into the dough to create a beautiful green mochi with a slightly earthy flavor. Just stir in one to two tablespoons of high-quality matcha for a vibrant twist.
-
Cocoa Delight: For an indulgent chocolate version, mix in cocoa powder. You might use about two tablespoons, and consider adding mini chocolate chips for an extra chocolatey experience.
Fillings and Toppings
-
Fruity Fillings: Why not roll the soft chewy milk mochi around your favorite fillings? Sweetened red bean paste, fresh mango chunks, or even a small dollop of homemade strawberry jam can elevate the taste to a whole new level.
-
Coconut Flake Coating: After preparing your mochi, roll it in toasted coconut flakes for a tropical twist. This not only adds a delightful texture but also enhances the visual appeal.
Savory Variations
- Cheese Mochi: For a unique take, try adding cream cheese or even a piece of string cheese in the center before wrapping it up, creating a savory treat that balances the sweet mochi beautifully.
Seasonal Ingredients
- Pumpkin Spice: During the fall, consider adding pumpkin puree and spices like cinnamon and nutmeg to the dough for a seasonal variation. It’s delightful, comforting, and perfectly festive!
These variations not only enhance your soft & chewy milk mochi but also allow your creativity to shine through, making each batch uniquely yours. Happy mochi-making!
Cooking Tips and Notes
Creating the perfect soft and chewy milk mochi can be a delightful experience, especially when you know a few tips to elevate your technique. This beloved Japanese treat deserves some extra attention for that ideal chewy texture.
Choose the Right Flour
Mochiko, or sweet rice flour, is the hero here. It lends that magical chewy quality that makes soft and chewy milk mochi so irresistible. Don’t substitute with regular rice flour, as this can alter the texture dramatically.
Watch Your Cooking Time
Mochi can be finicky. Overcooking it can cause the dough to harden. I recommend checking it a minute or two before the suggested cooking time. It should be sticky and slightly firm, but not tough.
Use Plenty of Cornstarch
To prevent your soft and chewy milk mochi from sticking, be generous with cornstarch when shaping. Dust your work surface as well as your hands to make the process smoother and less messy.
Experiment with Fillings
The beauty of mochi lies in its versatility. While this guide focuses on classic milk mochi, don’t hesitate to get creative with fillings. Sweet red bean paste, fruits, or even chocolate can provide delightful surprises!
Store Properly
Keep your mochi in an airtight container at room temperature for optimal freshness. Avoid the fridge, as it can harden the texture. If you make a large batch, try freezing some – it defrosts wonderfully!
With these tips, you’ll be on your way to crafting soft and chewy milk mochi that’ll impress friends and family alike. Happy cooking!
Serving Suggestions
Bringing your soft & chewy milk mochi to the table isn’t just about serving a treat; it’s about creating a delightful experience. These mochi are incredibly versatile, perfect for various occasions and pairings.
-
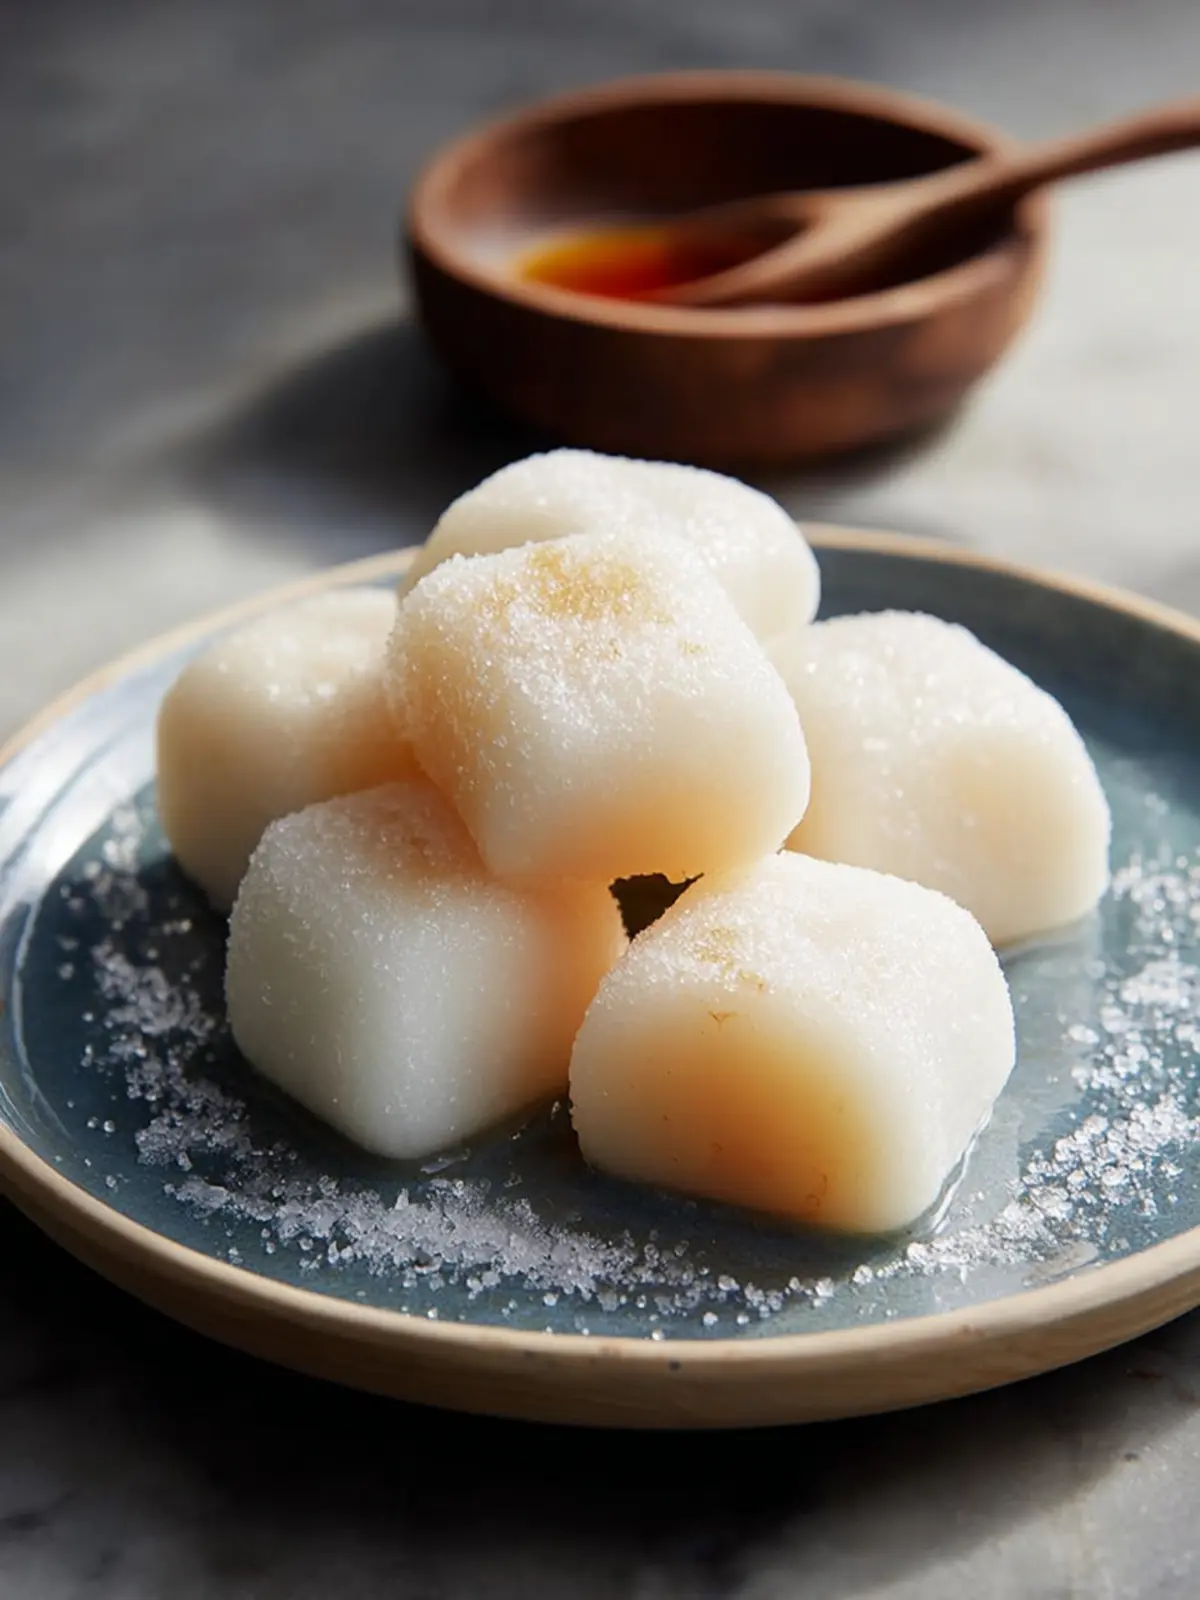
Simple Garnishes: A dusting of cornstarch or powdered sugar helps prevent sticking and adds an appealing, finished look.
-
Fruits and Sauces: Serve your mochi with fresh fruit like strawberries or mango slices for a refreshing contrast. Drizzle with a sweet soy sauce or a rich chocolate sauce to add layers of flavor.
-
Tea Pairings: Enjoy your mochi alongside a fragrant cup of green tea or matcha. The earthy notes enhance the subtle sweetness of your mochi, making it a perfect snack.
-
Creative Combinations: Try filling your mochi with other sweet treats like ice cream or red bean paste for a surprise twist. Serving these delights at a gathering will surely impress your friends and family.
By being creative, you’ll discover countless ways to elevate your soft & chewy milk mochi, making them a delightful treat for any setting!
Time Breakdown for Soft & Chewy Milk Mochi
Creating your own soft and chewy milk mochi can be a delightful culinary adventure. Not only do you get to enjoy the process, but you also end up with a treat that brings back memories from childhood.
Preparation time:
Before you dive into the cooking, give yourself about 20 minutes to gather all your ingredients and get everything ready. This includes measuring out your glutinous rice flour, milk, sugar, and any filling you choose to use.
Cooking time:
Once you start cooking, the mochi will take about 10 to 15 minutes to steam to the perfect, pliable texture. Keep an eye on it to ensure it achieves that ideal chewy consistency.
Total time:
In total, set aside around 35 to 40 minutes for making your soft and chewy milk mochi. This includes prep and cooking time, allowing you to enjoy a satisfying homemade treat in no time!
Nutritional Facts for Soft & Chewy Milk Mochi
As you dive into the delightful experience of making soft and chewy milk mochi, understanding its nutritional profile can enhance your enjoyment. Each piece is not only satisfying but can also fit into a balanced diet.
Calories
A typical serving of soft and chewy milk mochi contains around 100 calories. This makes it a great treat without straying too far from your daily intake, allowing for a guilt-free indulgence.
Protein
These mochi provide approximately 1.5 grams of protein per serving. While not a primary protein source, the texture and flavor are well worth the small protein contribution.
Sodium
With about 5 mg of sodium, soft and chewy milk mochi is a low-sodium snack, making it suitable for those monitoring their salt intake. Enjoy it as a sweet treat that won’t compromise your health goals.
By keeping these nutritional facts in mind, you can savor your homemade delights while maintaining a balanced lifestyle!
FAQs about Soft & Chewy Milk Mochi
Perfecting the art of soft and chewy milk mochi can open doors to delightful culinary experiences, but you might have a few questions as you embark on this delicious journey. Let’s tackle some common concerns you may have!
How do I store leftover mochi?
Storing your delicious soft and chewy milk mochi is quite simple! If you have any leftovers, it’s best to place them in an airtight container at room temperature where they can stay fresh for about two days. For longer storage, wrap them individually in plastic wrap before placing them in the container. This helps prevent them from drying out or sticking together.
Can I freeze soft and chewy mochi?
Absolutely! Freezing is a fantastic option if you want to enjoy your soft and chewy milk mochi later. Just make sure to wrap each piece tightly in plastic wrap, and then place them in a freezer-safe bag. When you’re ready to eat, let them thaw at room temperature for a couple of hours. They’ll retain their delightful chewiness and taste just as fresh!
What can I do with leftover ingredients?
If you have some ingredients leftover from making your soft and chewy milk mochi, don’t let them go to waste! Here are a few ideas:
- Use extra milk to whip up a smoothie or a creamy sauce for a savory dish.
- Starch or gluten-free flour can be used in other baking recipes or pancakes.
- Sweetener can be a great addition to tea or coffee, or even in homemade dressings.
Being resourceful with leftovers can expand your culinary skills and reduce waste—it’s a win-win! Now, you’re all set to create those endless soft and chewy milk mochi variations!
Conclusion on Soft & Chewy Milk Mochi
Creating soft and chewy milk mochi at home is a delightful adventure that rewards you with a treat that’s irresistibly texture-rich and delicious. After following the steps and enjoying the process, you’ll find that customizations—like filling them with your favorite fruits or drizzling chocolate—add a personal touch that makes each bite extraordinary. This recipe not only introduces you to the joy of making an Asian delicacy but also invites you to share it with friends and family. The next time you want to impress or indulge, revisit this guide to whip up the ultimate comfort snack that always satisfies cravings.
Print
Glutinous Rice Flour Treats
- Total Time: 13 minutes
- Yield: 4 servings 1x
- Diet: Gluten-free
Description
A delightful recipe for chewy glutinous rice flour treats, perfect as a snack or dessert.
Ingredients
Scale
- 1 cup glutinous rice flour
- 0 cup granulated sugar
- 1 cup whole milk
- 1 tbsp unsalted butter (melted)
- 1 tsp vanilla extract
- 0 cup cornstarch (for dusting)
Instructions
- Whisk glutinous rice flour and sugar in a microwave-safe bowl.
- Gradually add milk, whisking until smooth.
- Stir in melted butter and vanilla extract.
- Microwave for 1 minute, stir, and repeat twice until thick and stretchy.
- Transfer to cornstarch-dusted surface and cool slightly.
- Cut into bite-sized pieces and coat lightly with cornstarch.
Notes
- Ensure the mixture is smooth before microwaving.
- Adjust cooking time based on your microwave’s power.
- Prep Time: 10 minutes
- Cook Time: 3 minutes
- Category: Dessert
- Method: Microwave
- Cuisine: Asian
Nutrition
- Serving Size: 1 serving
- Calories: 150
- Sugar: 5g
- Sodium: 50mg
- Fat: 3g
- Saturated Fat: 2g
- Unsaturated Fat: 1g
- Trans Fat: 0g
- Carbohydrates: 28g
- Fiber: 0g
- Protein: 2g
- Cholesterol: 10mg