Follow Me On Social Media!

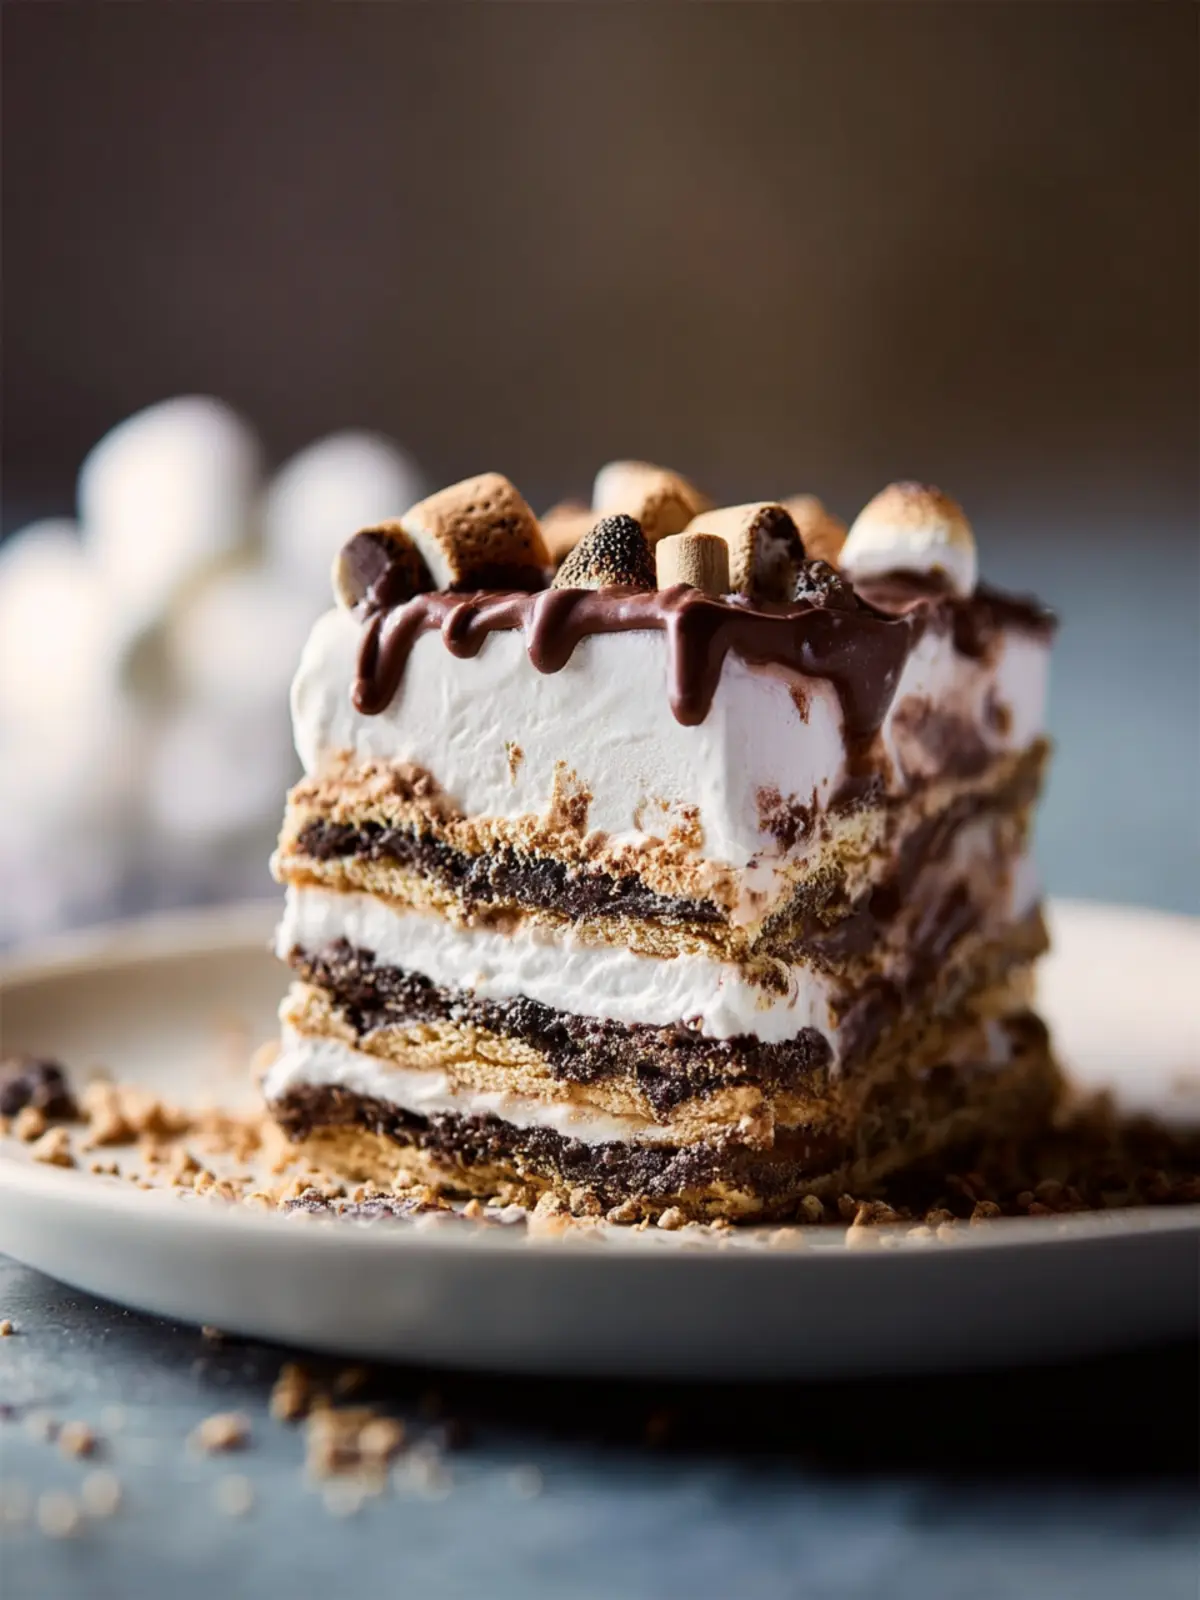
S’mores Icebox Cake: The Indulgent No-Bake Summer Treat
Introduction to S’mores Icebox Cake
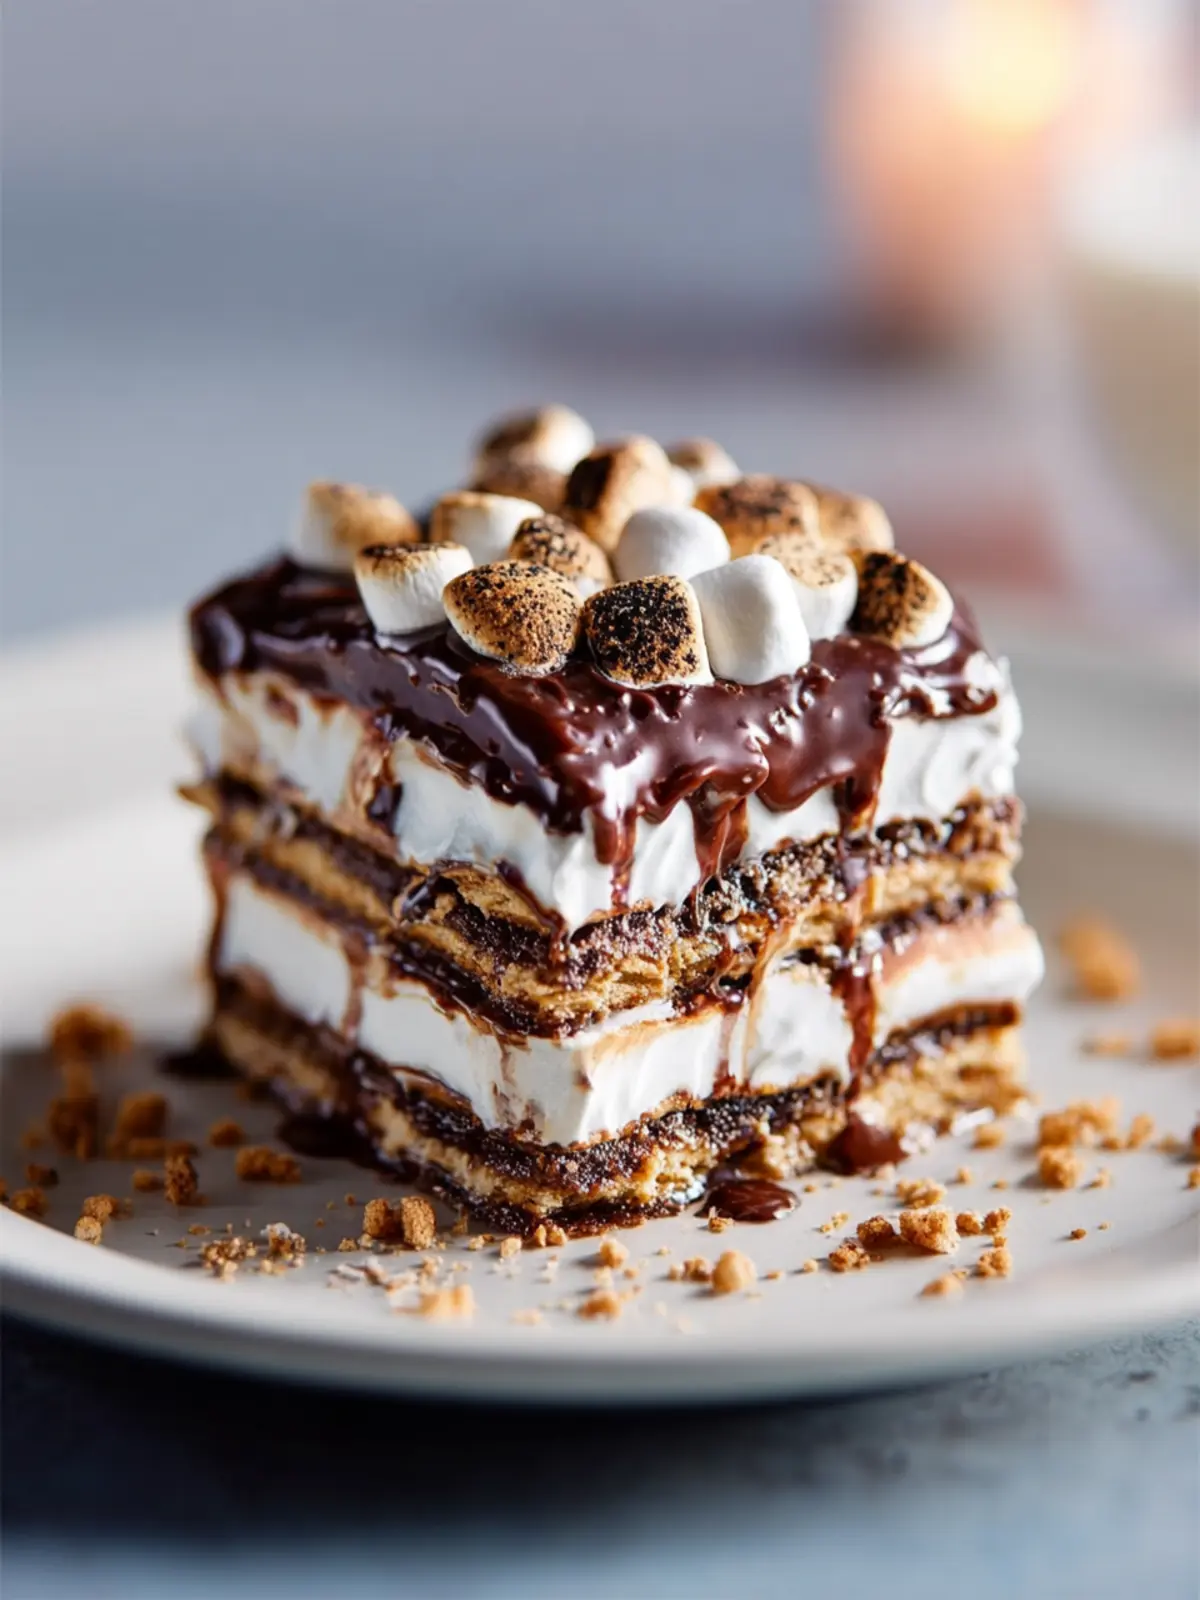
The delightful blend of flavors in S’mores Icebox Cake instantly transports you back to carefree campfire evenings, where warm, gooey marshmallows collide with rich chocolate and crunchy graham crackers. Imagine digging into a slice of this sweet nostalgia; each bite is a delicious reminder of childhood adventures, where the simple joys of roasting marshmallows and sharing stories under starlit skies reigned supreme.
Making this cake is a breeze; it’s a no-bake dessert that captures the essence of traditional s’mores without the hassle of a campfire. Layers of softened cream cheese, whipped cream, and chocolate pudding intermingle with graham crackers, allowing the flavors to meld beautifully over time. This cake isn’t just a treat; it’s an experience that lures everyone to the table, creating moments of joy reminiscent of lazy summer days spent with friends and family.
Why this S’mores Icebox Cake will bring back childhood memories
When you take a bite of this S’mores Icebox Cake, it evokes a sense of joyous nostalgia.
-
Campfire Memories: The buttery graham cracker base is reminiscent of campfire nights, where each cracker is toasted just right before being sandwiched with a fluffy marshmallow and a hint of chocolate.
-
Simple Ingredients, Big Flavor: The combination of chocolate pudding and whipped cream provides a creamy and airy texture that reflects the delightful balance found in classic s’mores.
-
Easy to Assemble: Just layer the ingredients! Assemble it in minutes, leaving more time to reminisce about past adventures. You can even invite friends to help with the layers, making it a fun bonding activity—just like making s’mores by the campfire.
-
Versatility: S’mores Icebox Cake not only embodies the traditional flavors but can also be tweaked to include your favorite chocolate or flavored cream for a personal touch.
Whether you’re hosting a summer barbecue or simply looking for a sweet way to reminisce, this dessert will undoubtedly awaken fond memories and create new ones. It’s not just a cake; it’s a slice of happiness served on a plate.
Key Ingredients for S’mores Icebox Cake
Creating a delightful S’mores Icebox Cake feels like bringing a piece of childhood nostalgia into your kitchen. It’s the perfect no-bake treat reminiscent of campfire evenings, and the secret lies in the unique blend of ingredients that mirror that classic flavor.
-
Graham Crackers: These provide the essential crunch and structure for your cake. I prefer the honey-flavored variety for an extra sweetness that echoes the traditional s’more experience. Feel free to break them into quarters; a bit of rustic charm never hurts!
-
Marshmallow Fluff: Creamy and sweet, marshmallow fluff is the heart of this cake. It adds that gooey texture that you crave, making every bite a delightful homage to the classic s’more.
-
Chocolate Pudding: I opt for rich, instant chocolate pudding to deliver a velvety texture. You can also use homemade pudding if you have the time; it adds an extra touch of love to your creation.
-
Whipped Cream: This light component balances the richness of the pudding and fluff, making your cake just the right amount of decadent. A dollop on top creates a perfect finishing touch.
-
Mini Chocolate Chips: For a playful sprinkle, mini chocolate chips bring an added chocolatey crunch that elevates your S’mores Icebox Cake to new heights of indulgence.
Each ingredient plays a vital role, working harmoniously to evoke that beloved campfire treat. Enjoy the magic!
Why You’ll Love This S’mores Icebox Cake
Imagine lazy summer nights spent around a campfire, the sweet scent of melted chocolate and toasted marshmallows wafting through the air. Now, what if I told you that you could capture that nostalgic experience in a S’mores Icebox Cake without having to light a flame? This delightful dessert encompasses everything you love about the classic campfire treat, making it perfect for gatherings or just a cozy night in.
No Baking Required
Crafting the S’mores Icebox Cake doesn’t involve any baking, which means you can spend less time in the kitchen and more time enjoying time with friends and family. Simply layer your ingredients, let them chill, and voilà— a mouthwatering dessert is at your fingertips.
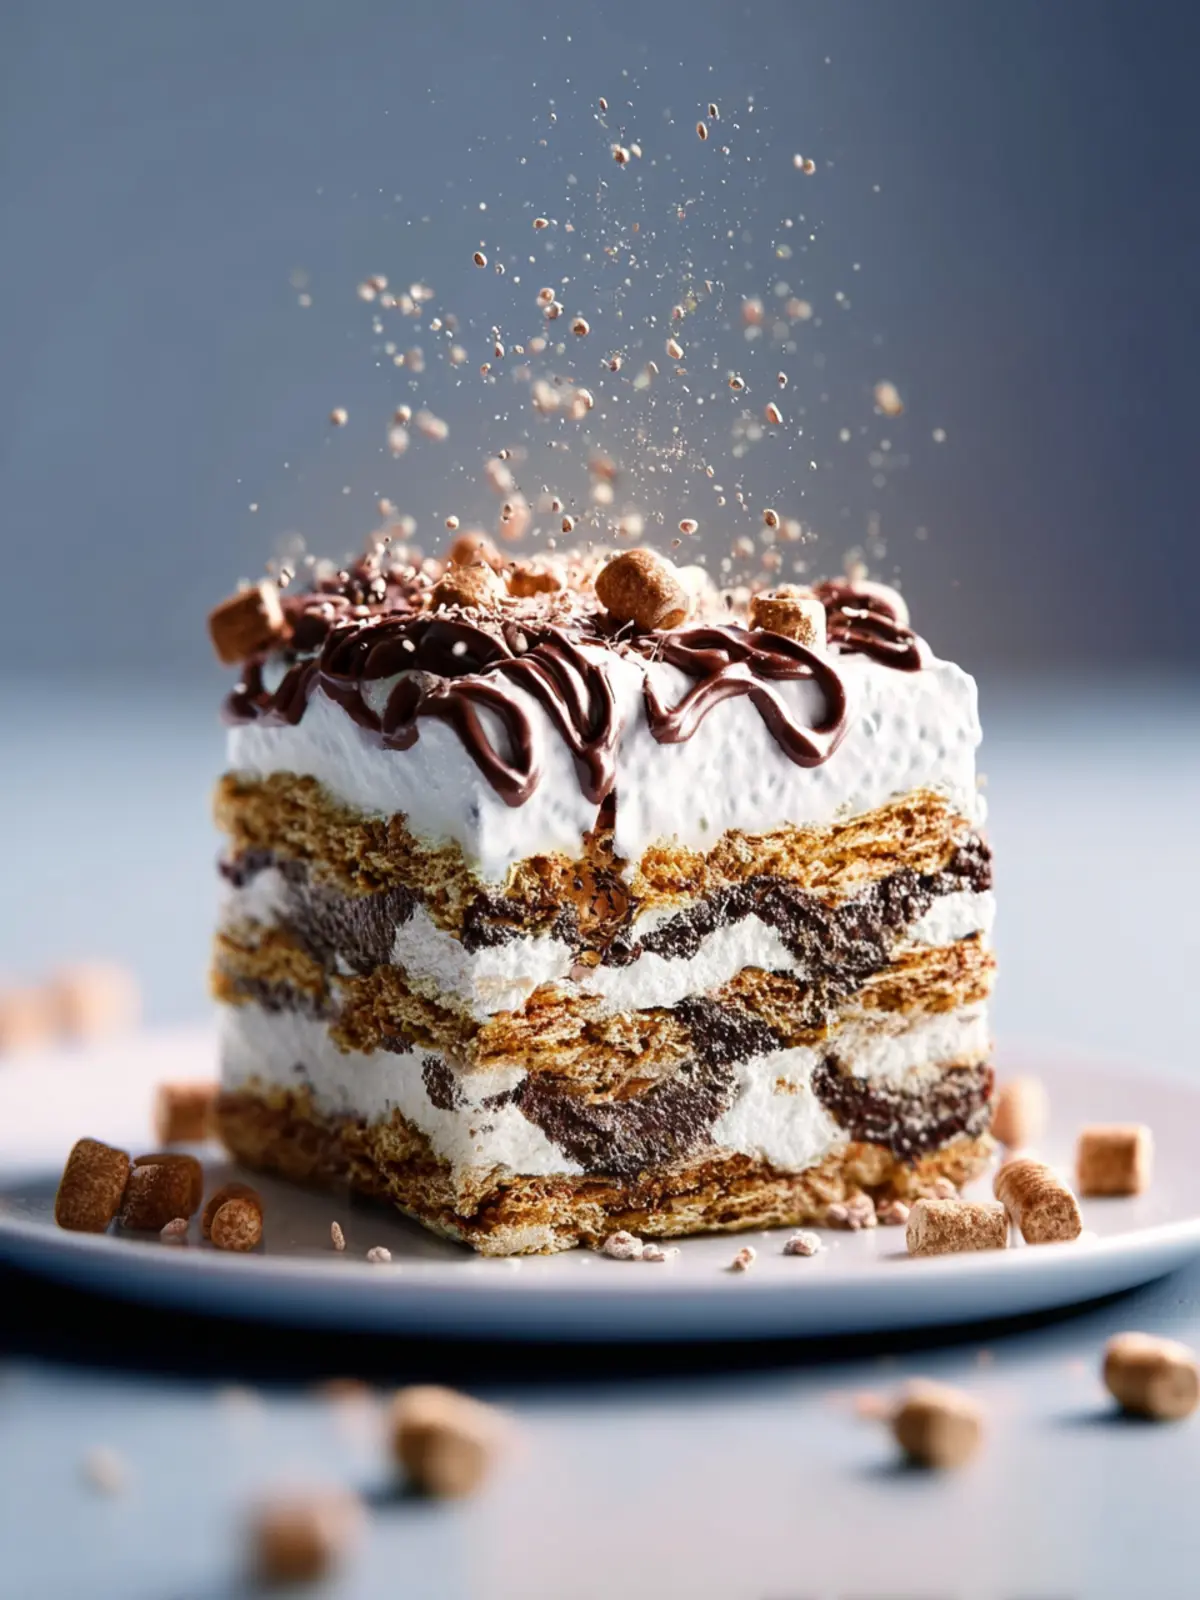
Layers of Flavor
Each bite reveals a heavenly combination of crunchy graham crackers, velvety chocolate pudding, and luscious whipped cream. It’s a symphony of textures and flavors that will have your taste buds dancing!
Perfect for Any Occasion
Whether you’re hosting a birthday bash, a summer cookout, or simply treating yourself after a long week, this S’mores Icebox Cake is an effortless yet impressive crowd-pleaser. It’s sure to spark joy and cravings for more!
Variations on S’mores Icebox Cake
When it comes to enjoying the classic S’mores Icebox Cake, the beauty lies in its versatility; you can easily twist the traditional elements for a unique twist. One of my favorite variations has you swapping out graham crackers for thinly sliced, crisp chocolate cookies. This will intensify the chocolate flavor, giving your cake a decadent, fudgy undertone that chocolate lovers will adore.
Fun Flavor Twists
-
Peanut Butter Delight: Layer in some peanut butter between each cracker. The creamy texture combined with the marshmallow fluff will remind you of a nutty version of a classic peanut butter cup.
-
Fruit Infusion: Consider incorporating fresh berries or banana slices between the layers. Strawberries or raspberries add a refreshing tartness that lightens up the richness of the chocolate and marshmallow.
-
Minty Fresh: Add a peppermint extract to the whipped cream layer for that mint-chocolate combo that’s perfect for the holidays. It’s a refreshing twist that brings a whole new dimension to your S’mores Icebox Cake.
No-Bake Alternatives
For a seasonal twist, try using seasonal flavors like pumpkin spice or eggnog in the cream layers during the fall and winter months. Each variation offers a new take, allowing you to savor this delightful dessert in countless ways, ensuring you never tire of it!
Cooking Tips and Notes for S’mores Icebox Cake
Savoring a delightful S’mores Icebox Cake is like reliving those carefree days by the campfire, but with a delightful twist. To ensure your dessert turns out as dreamy as you envision, here are some helpful tips.
Choose Quality Ingredients
- Graham Crackers: Opt for honey-flavored graham crackers for that nostalgic sweetness. They provide the perfect crunch, mimicking the classic campfire s’mores.
- Chocolate: High-quality chocolate or chocolate pudding mix will elevate the richness of your cake. Dark chocolate offers a bold flavor that pairs beautifully with the creaminess of the whipped topping.
- Marshmallows: Mini marshmallows are best here since they blend seamlessly with the layers of cake and cream.
Layering Matters
- When layering your cake, alternate the graham crackers and whipped cream mixture precisely. This helps create a balanced texture and ensures that every bite feels like the quintessential s’more experience.
Chill for the Best Texture
- Don’t skimp on chilling time! Letting your S’mores Icebox Cake rest in the fridge for at least four hours—or overnight if you can wait—allows the flavors to meld and the graham crackers to soften perfectly.
Serving Suggestions
- For an extra touch, consider garnishing with toasted marshmallows or a sprinkle of graham cracker crumbs on top just before serving. This adds a delightful look and enhances the s’mores essence.
Indulge in these tips, and your S’mores Icebox Cake will be the star of any gathering!
Serving Suggestions for S’mores Icebox Cake
S’mores Icebox Cake is not just a treat; it’s a delightful journey that can evoke memories of summer nights spent around a campfire. To elevate your dessert experience, consider these serving suggestions that bring all the cozy, nostalgic vibes right into your kitchen.
-
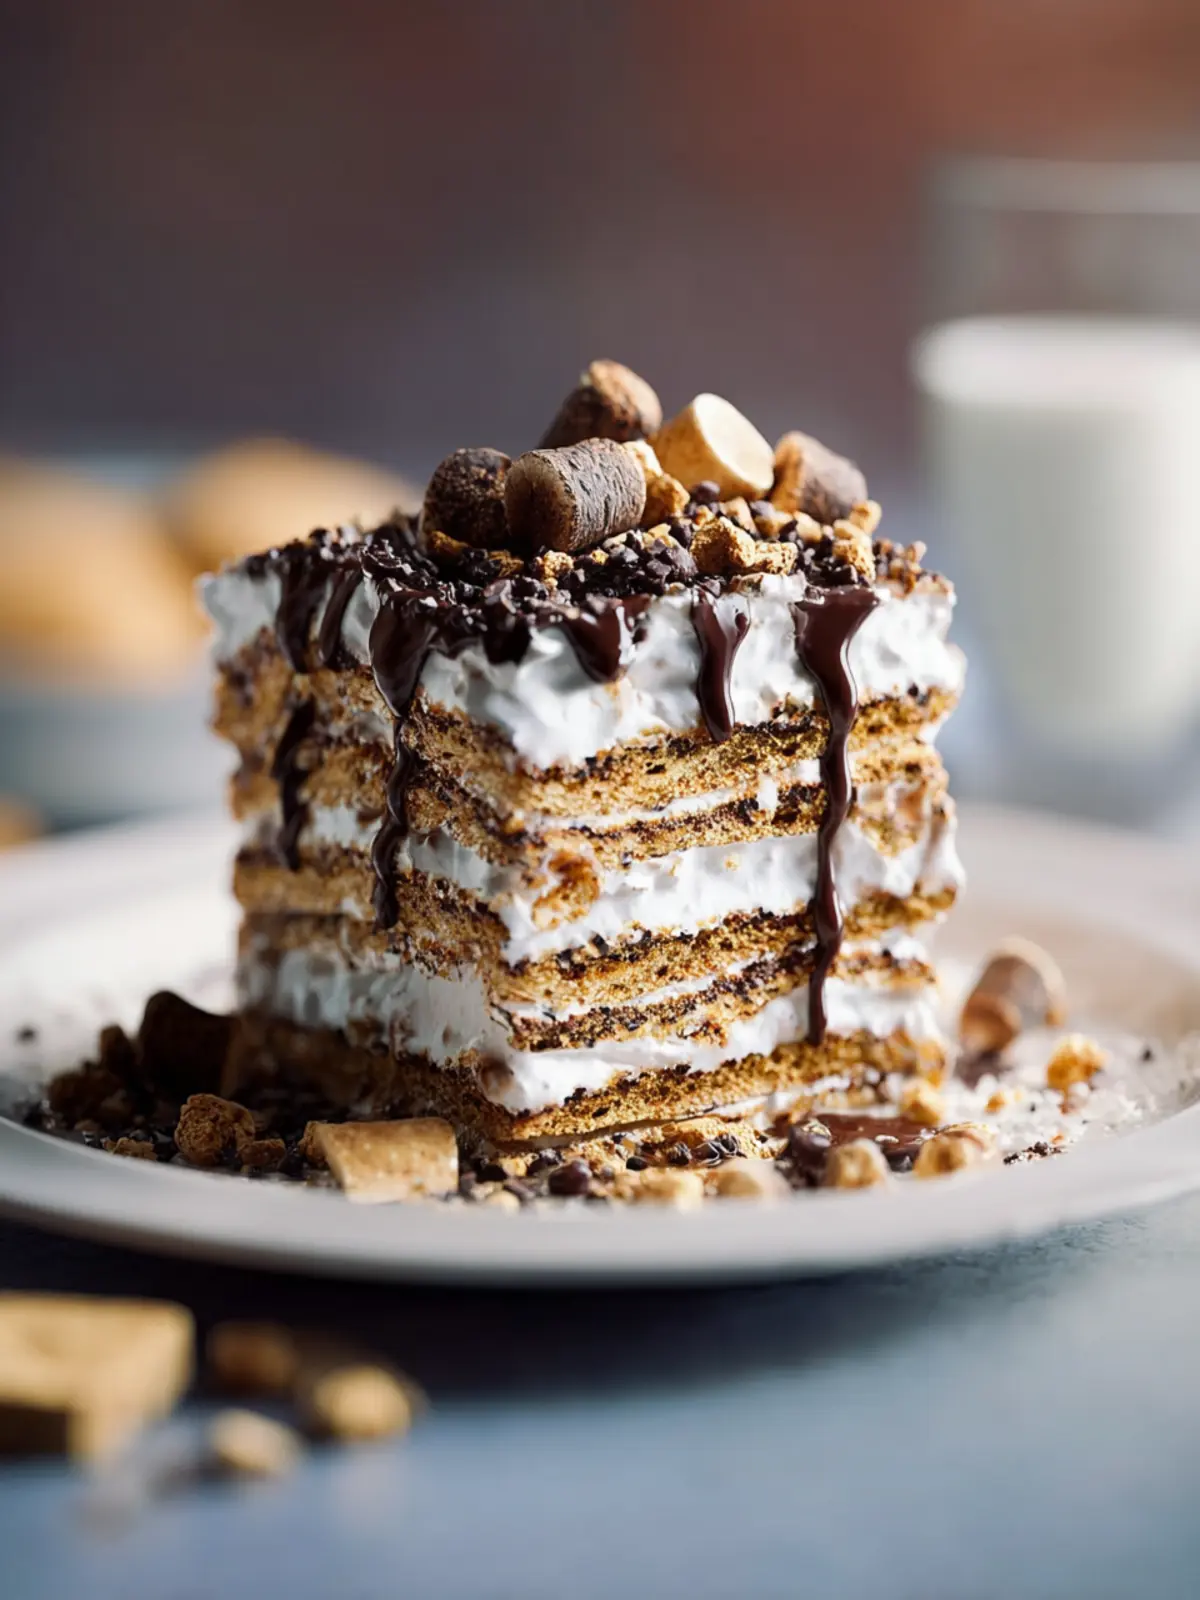
Garnish with Chocolate Drizzle: A simple drizzle of melted chocolate on top of your S’mores Icebox Cake can enhance its visual appeal and add an extra layer of richness. Choose dark or milk chocolate according to your preference.
-
Compliment with Fresh Berries: Adding a side of fresh strawberries or raspberries can bring a pop of color and acidity, balancing the sweetness of the cake beautifully.
-
Pair with Whipped Cream: A dollop of freshly whipped cream can add a light, airy texture that contrasts perfectly with the dense layers of the cake.
-
Ice Cream on the Side: Serve your slices alongside a scoop of vanilla or graham cracker-flavored ice cream to make the dessert even more indulgent.
With these suggestions, every slice of your S’mores Icebox Cake becomes a personalized masterpiece, perfect for entertaining friends or treating yourself any day of the week.
Time Breakdown for S’mores Icebox Cake
Creating a delightful S’mores Icebox Cake is not only about the ingredients but also about effectively managing your time in the kitchen. Knowing how long each step takes will help you prepare better and enjoy more!
Preparation Time
Setting aside about 30 minutes will give you ample time to assemble your cake layers. This includes measuring and mixing the ingredients, as well as layering the graham crackers, chocolate, and marshmallow filling.
Chilling Time
For the best results, allow your S’mores Icebox Cake to chill for 4 to 6 hours in the refrigerator. This step is crucial for allowing all the flavors to meld together and for achieving the perfect creamy texture.
Total Time
When you combine the preparation time with the chilling time, you’re looking at a total of approximately 4 to 6.5 hours. While this may seem extensive, most of this time is passive, allowing you to kick back and relax while your dessert comes together!
Nutritional Facts for S’mores Icebox Cake
In the delightful world of desserts, the S’mores Icebox Cake is not just a treat for the eyes but also a source of comfort for the soul. This layered creation brings nostalgia wrapped in each slice, inviting you to savor the flavors reminiscent of summer campfires. Let’s take a closer look at the nutritional aspects of this indulgent dish.
Calories
The S’mores Icebox Cake offers approximately 300 calories per serving. This makes it a decadent choice for those looking to satisfy their sweet tooth without overindulging too much.
Protein
In each serving, you’ll find about 6 grams of protein. While it’s not a protein powerhouse, those grams help balance the sweetness and add a touch of sustenance.
Carbohydrates
With around 40 grams of carbohydrates in each serving, the cake gives you the energy boost you need for a fun-filled day. Just remember, moderation is key when enjoying this delectable dessert!
Whether you’re sharing it at a gathering or savoring it solo, the S’mores Icebox Cake brings delight to your taste buds while providing a satisfying nutritional profile.
FAQs about S’mores Icebox Cake
Can I make this S’mores Icebox Cake gluten-free?
Absolutely! Making a gluten-free version of this delightful S’mores Icebox Cake is straightforward. All you need to do is swap out the traditional graham crackers for gluten-free graham crackers or another crispy cookie that mimics that classic texture. There are many delicious gluten-free options available nowadays, ensuring that everyone can enjoy a slice of this sweet treat. Just double-check any other ingredients, like whipped topping or pudding mix, to ensure they’re gluten-free as well.
How do I store leftovers?
If you find yourself with any leftover S’mores Icebox Cake, storage is a breeze. Simply cover it tightly with plastic wrap or transfer it to an airtight container. It can be stored in the refrigerator for up to three to four days. Just keep in mind that the longer it sits, the softer the graham crackers will become, making the cake even creamier! If you’d like to maintain that crunch a bit longer, consider adding the toppings fresh before serving.
What other toppings can I use?
The beauty of a S’mores Icebox Cake is its versatility! While mini marshmallows, chocolate shavings, and crushed graham crackers are classic go-to toppings, feel free to get creative. Drizzling with caramel sauce can add a rich twist, or you could sprinkle some chopped nuts for an added crunch. Think about seasonal fruits like strawberries or raspberries to introduce a refreshing contrast. The options are limitless, based on what you enjoy or have on hand!
Conclusion on S’mores Icebox Cake
Crafting a S’mores Icebox Cake brings the nostalgic campfire experience right into your kitchen. This no-bake dessert, layered with rich chocolate, creamy marshmallow, and crunchy graham crackers, will delight your taste buds and impress your friends. The ease of preparation makes it a perfect choice for gatherings or a simple weeknight treat.
As you savor each bite, you’ll find that every layer tells a story—a reminder of summer nights spent around the fire. So, whether you’re entertaining guests or treating yourself, this dessert guarantees happiness and memories with every scoop. Enjoy your delicious journey into the world of S’mores Icebox Cake!
Print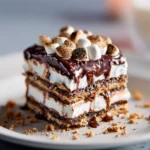
Chocolate Marshmallow Layer Bars
- Total Time: 12 hours 45 minutes
- Yield: 16 bars 1x
- Diet: Vegetarian
Description
These chocolate marshmallow layer bars are a delightful treat with layers of chocolate ganache, marshmallow fluff, and graham crackers that create an indulgent dessert.
Ingredients
Scale
- 12 ounces semi-sweet chocolate chips (about 2 cups)
- 3 cups heavy cream (divided)
- 2 tablespoons powdered sugar
- 1/2 teaspoon vanilla bean paste (or 1 teaspoon vanilla extract, optional)
- 7 ounces marshmallow creme
- 1 box honey graham crackers
- 2 large egg whites
- 1/2 cup granulated sugar
- 1/4 teaspoon cream of tartar
Instructions
- Pour chocolate chips in a large, heat-safe bowl. Scald 1 cup (240g) of the heavy cream (I add it to a glass measuring cup and microwave for 45–90 seconds). Pour the hot heavy cream over the chocolate chips and cover the bowl with a clean lid (so no heat escapes). Let stand 5 minutes, then stir until smooth. This may take a few minutes. If needed, heat the mixture in the microwave in bursts of 10 seconds, stirring in between for 10 seconds until the chocolate mixture is completely smooth. Set aside at room temperature.
- Pour remaining 2 cups (480g) heavy cream, powdered sugar, and vanilla in the base of a stand mixer fitted with a whisk attachment. Beat on low for 30 seconds to combine and gradually increase until at full speed. Beat, watching carefully, until soft peaks form (about 2–4 minutes). Add all the marshmallow fluff and slowly beat to combine. Increase the speed to medium high until ingredients are combined and peaks are firm (about 30 seconds up to 1 minute). Set aside.
- Line a 9×9-inch baking pan with parchment paper (helps bars come out nicely). Spread a tiny bit of the marshmallow cream on the bottom (just enough to hold graham crackers in place). Spread an even layer of graham crackers and 1/4th of the marshmallow cream on top. Smooth with the back of a spoon into an even layer. Add 1/3 of the room-temperature chocolate ganache. Smooth with a table knife into an even layer.
- Add another layer of graham crackers, 1/4th of the marshmallow mixture, and 1/3 of the chocolate mixture. Add another layer of graham crackers, 1/4th of marshmallow mixture, and remaining 1/3 of chocolate. Add 1 last layer of graham crackers and the last 1/4th of the marshmallow mixture. You should be at the top of the pan. Cover the pan tightly and place in the fridge for at least 8 hours and preferably 12 hours.
- Optional Meringue: Place egg whites, sugar, and cream of tartar in a heatproof bowl. Set the bowl in a pot filled with 2 inches of simmering water over medium heat. Don’t let the bowl touch that water. Whisk constantly with a whisk until sugar is dissolved completely and the mixture has become bright white. (You can tell the sugar has dissolved by pinching off some of the mixture and rubbing it between your fingers, if you can feel a lot of sugar granules, keep mixing!)
- Transfer to a stand mixer (or use a hand mixer) and beat until stiff peaks form, about 5 minutes at high speed. Using a spatula, add dollops of the meringue all over the top of the cake. Gently coax the meringue to top the cake with the back of a spoon—this takes some patience to not lift up the top layer! Use a fork to run over the top, creating small rough ridges and peaks. If you have a kitchen torch, singe the peaks until lightly browned (move the kitchen torch along the meringue quickly—it will toast it very fast).
- Use the overhang of parchment to carefully remove bars from pan onto a cutting board. Use a sharp knife, run the knife under warm water, dry on a kitchen towel, and make decisive cuts. Repeat this process for each cut made.
Notes
- Make sure the ganache is completely cooled before adding it to the cake, or it will affect the texture of the marshmallow cream.
- Let the bars chill for a longer time for better consistency.
- If you do not have a kitchen torch, you can broil the meringue in the oven to achieve a similar toasted effect.
- Prep Time: 30 minutes
- Cook Time: 15 minutes
- Category: Dessert
- Method: No-bake
- Cuisine: American
Nutrition
- Serving Size: 1 bar
- Calories: 300
- Sugar: 20g
- Sodium: 50mg
- Fat: 15g
- Saturated Fat: 8g
- Unsaturated Fat: 5g
- Trans Fat: 0g
- Carbohydrates: 40g
- Fiber: 1g
- Protein: 3g
- Cholesterol: 80mg