Follow Me On Social Media!

Oreo Pie: The Indulgent Dessert Everyone Will Crave
Introduction to Oreo Pie
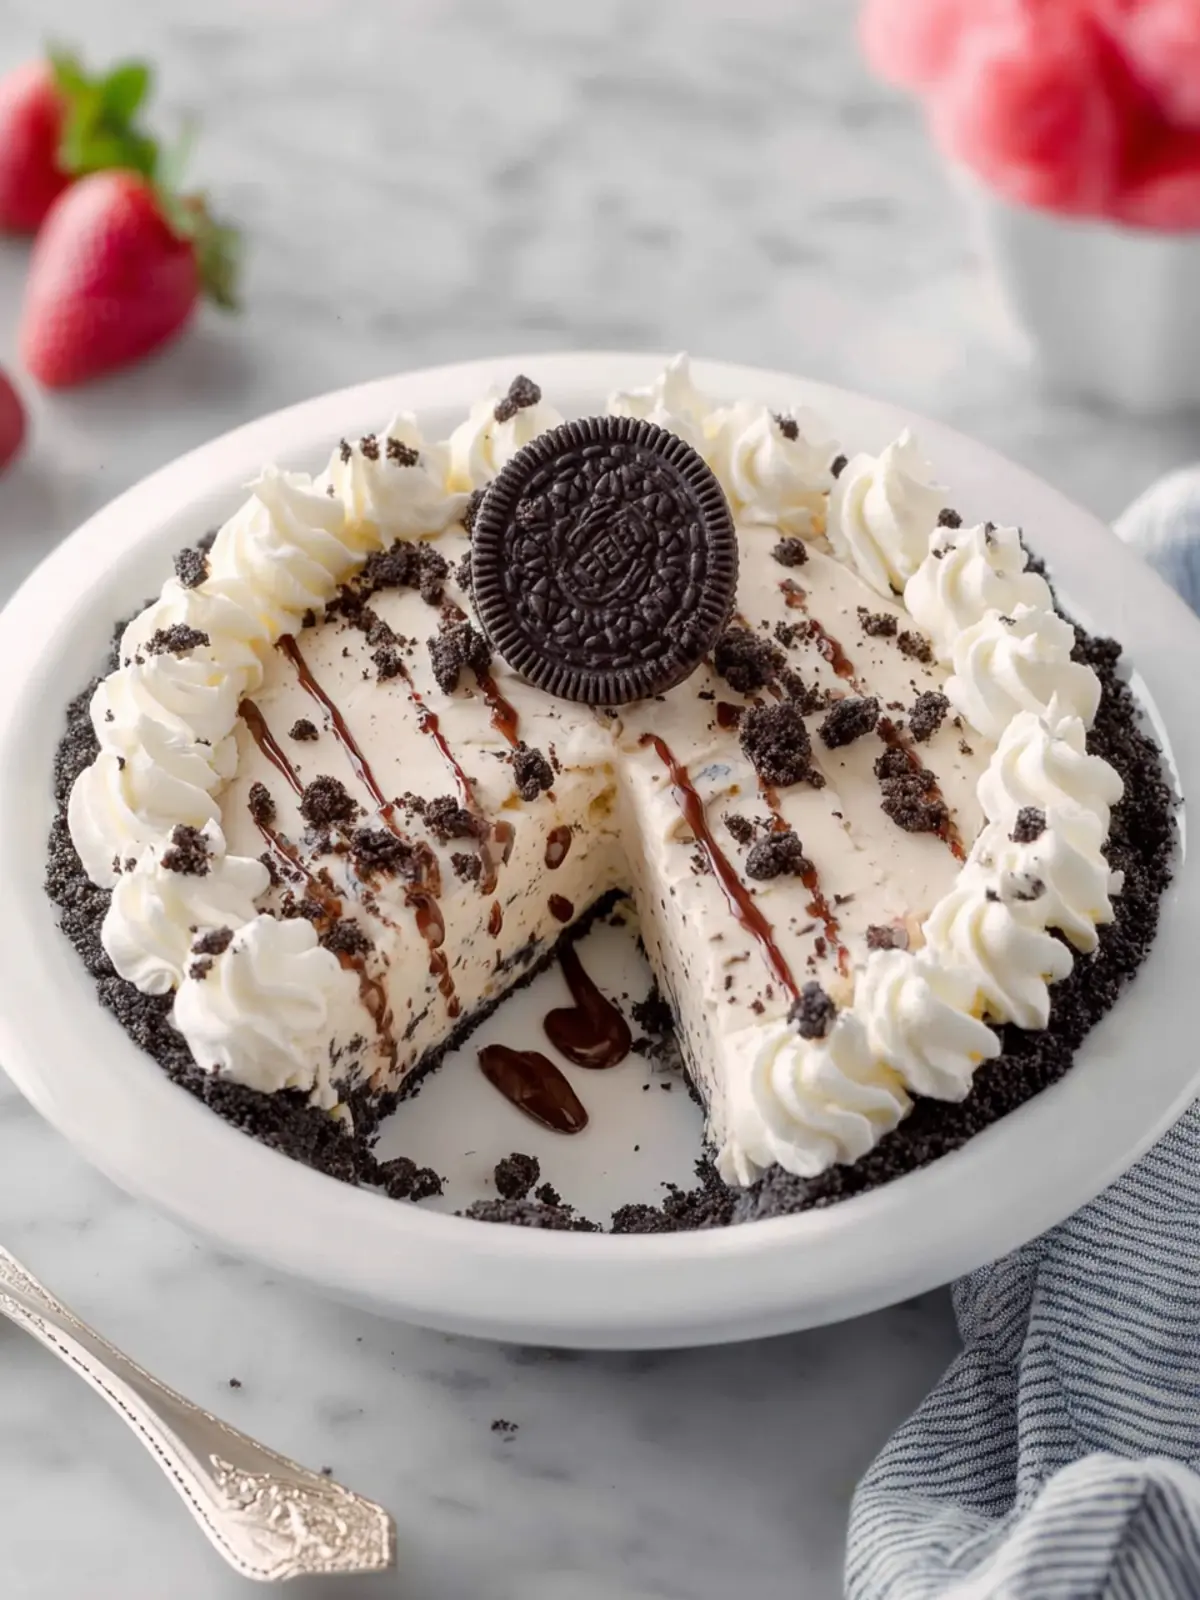
Crafting an incredible Oreo Pie at home ignites not just your kitchen but also your taste buds, transforming simple ingredients into a dessert masterpiece. There’s something uniquely satisfying about creating a treat that fuses creamy indulgence with a classic favorite — the beloved Oreo cookie. As you blend those rich flavors, the anticipation builds; you can almost taste the crunchy cookie crust and the silky filling before it even hits the table.
The Joy of Homemade Desserts
In a world where store-bought desserts dominate, making your own Oreo Pie can lead to a delightful culinary adventure. Picture yourself in your kitchen, hands covered in chocolatey goodness, and your favorite playlist setting the mood. There’s a magic in preparing a dessert from scratch that goes beyond just feeding your hunger. Each layer of this pie tells a story – from the buttery crust made from crushed Oreos to the homemade filling that feels like a hug in dessert form.
Why does this matter? Research shows that making food at home can significantly boost your happiness and overall well-being. Plus, there’s an undeniable charm about presenting a dessert that you’ve created with your own hands. Imagine the smiles on your friends’ faces as you unveil your Oreo Pie, its rich layers beckoning everyone to dive in.
When it comes to hosting, this dessert can be a real showstopper. Whether it’s a casual get-together or a special celebration, every slice of Oreo Pie brings people closer, sparking connections over the shared love of dessert. So, gather your ingredients, roll up your sleeves, and prepare to embark on a sweet journey that will undoubtedly leave a lasting impression on your friends and family. You might just find that homemade desserts hold a special place in your heart—and your kitchen!
Key Ingredients for Oreo Pie
Creating a luscious Oreo Pie is a delightful journey, combining rich flavors that evoke childhood nostalgia with every bite. Whether you’re serving it at a dinner party or just satisfying a sweet tooth, here’s a breakdown of the key ingredients that elevate this dessert.
-
Oreo Cookies: The star of our Oreo Pie is, of course, the classic Oreo cookie. The dark cookie paired with creamy filling introduces a perfect blend of crunch and creaminess. Smash them into fine crumbs to form the base of our pie crust, which sets the foundation for the flavors to come.
-
Butter: Melted butter serves as the adhesive for our Oreo crust. It not only binds the cookie crumbs but also adds richness and depth to the flavor, ensuring every slice is indulgent.
-
Cream Cheese: This is essential for the filling. I use softened cream cheese to provide a creamy texture that balances the sweetness of the pie. It also gives that velvety mouthfeel that makes you want to come back for a second slice.
-
Sugar: Granulated sugar sweetens the cream cheese, creating a delightful contrast to the rich flavors of the Oreo. Just the right amount is needed to achieve a harmonious balance without overpowering the other ingredients.
-
Whipped Cream: To make the filling light and airy, I fold in whipped cream. This ingredient creates that fluffy texture you dream about in a pie, making it irresistibly indulgent.
-
Vanilla Extract: A splash of vanilla extract rounds out the flavors beautifully, adding warmth and enhancing the overall taste of the pie.
These ingredients work in concert to create a spectacular Oreo Pie that sings with flavors and textures, making it an instant favorite for any gathering.
Why You’ll Love This Oreo Pie
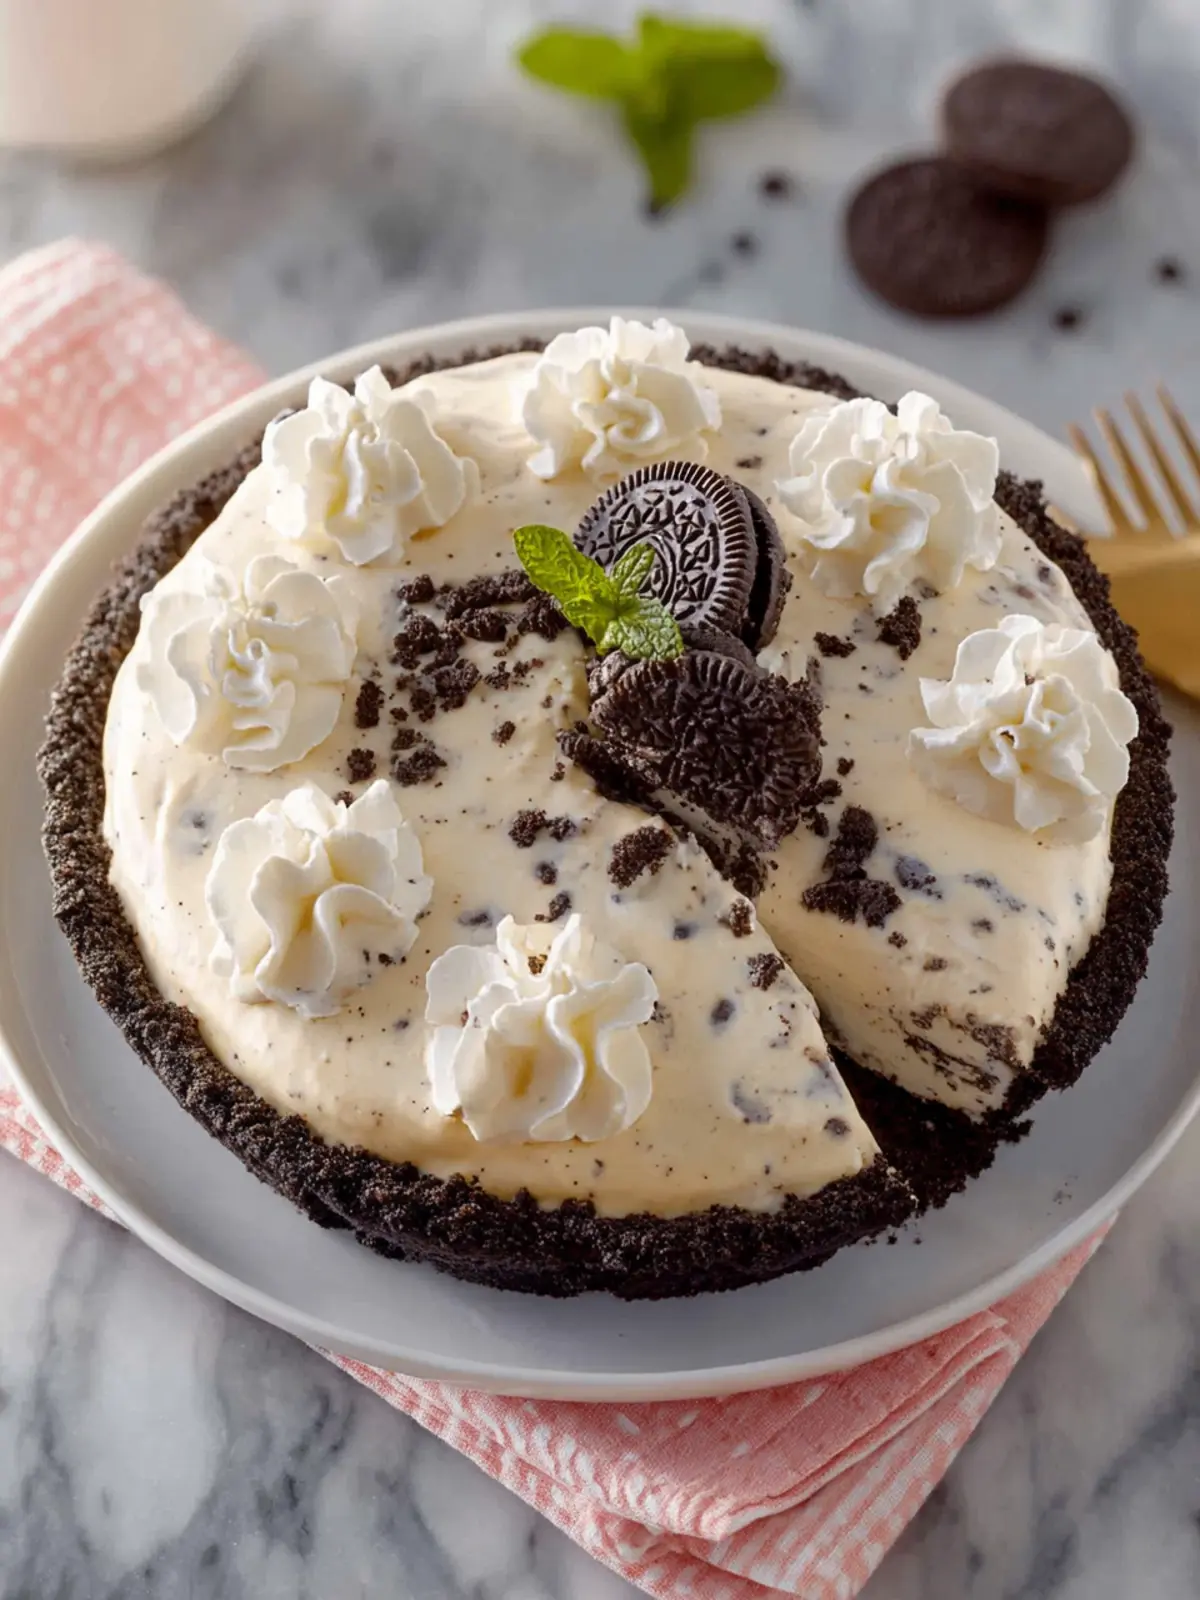
From its creamy filling to the delightful crunch of Oreo crumbs, this Oreo Pie is a dessert that speaks to everyone’s sweet tooth. Imagine gathering with friends on a sunny afternoon, slicing into a beautiful pie made with your favorite childhood cookie. The nostalgia it brings makes every bite an experience, not just a treat!
One of the best things about this Oreo Pie is how easy it is to whip up. With just a handful of ingredients, you can create something that not only looks impressive but tastes absolutely divine. The blend of chocolate cookie crust and rich cream filling is undeniably satisfying and perfect for any occasion—be it a birthday, picnic, or just a Wednesday craving.
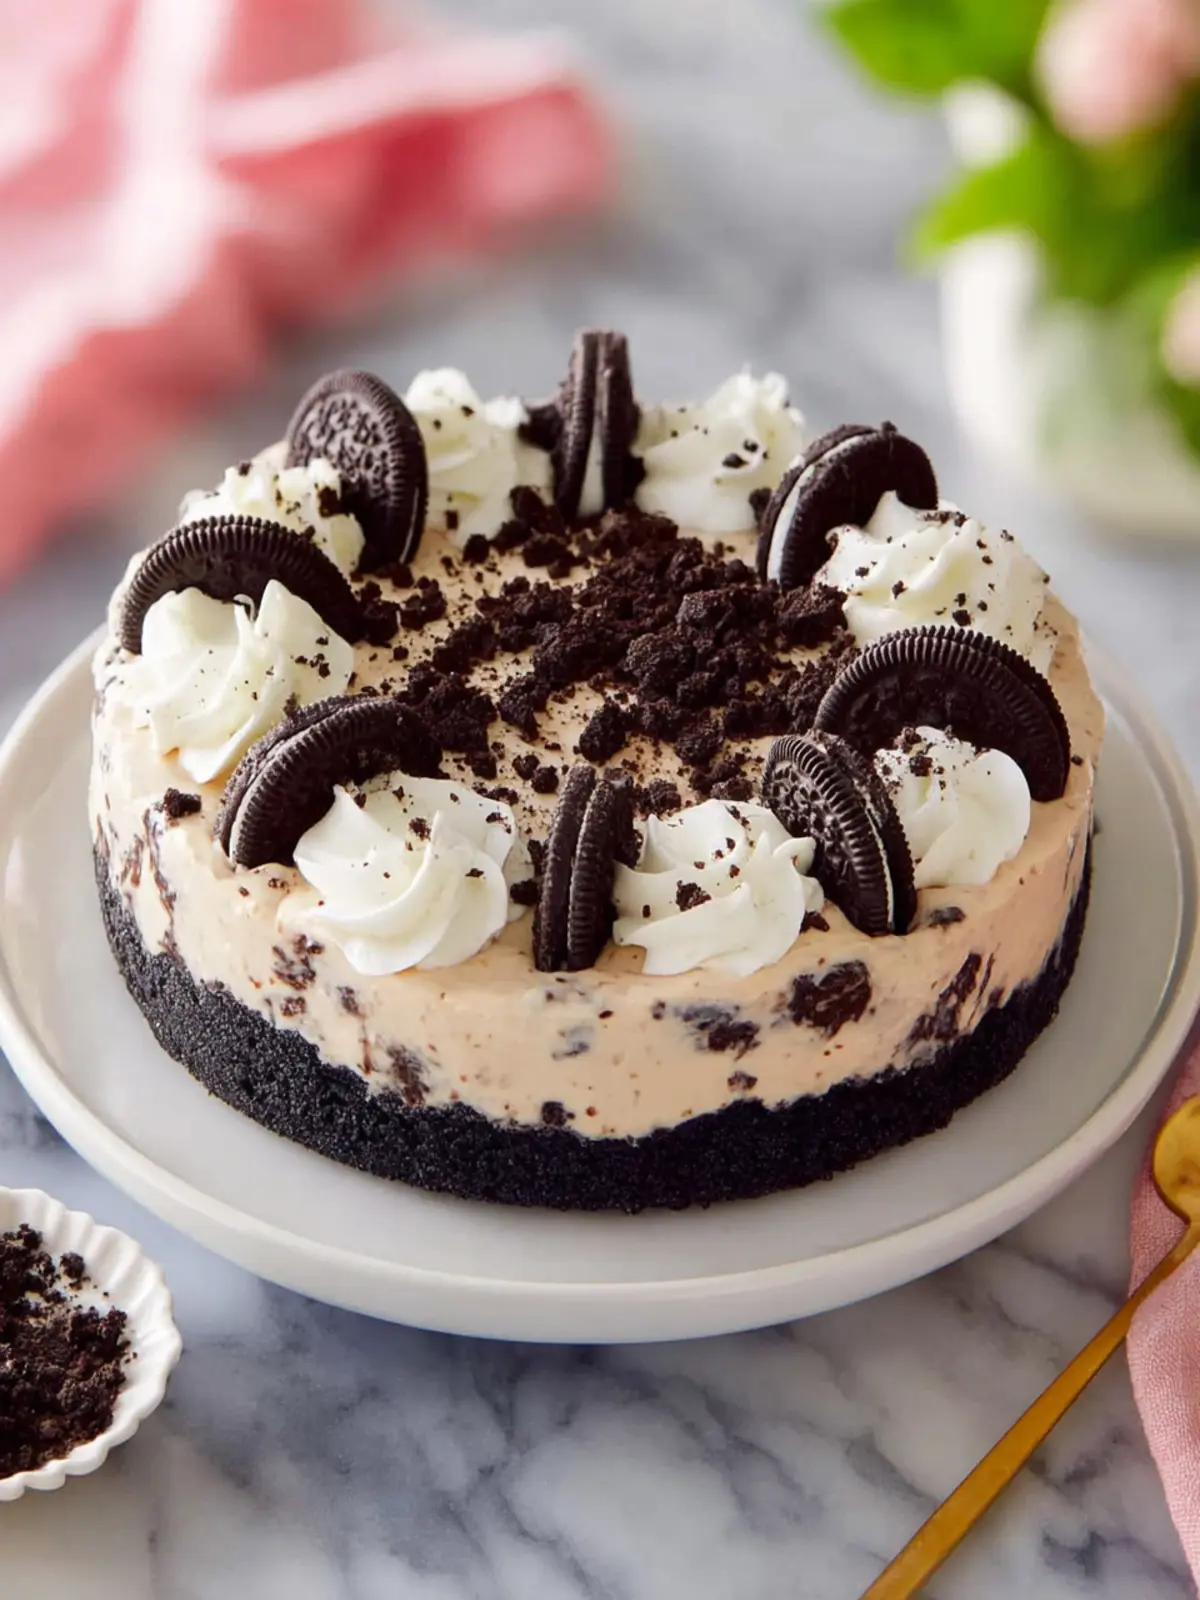
Not to mention, this pie can cater to different tastes; the customizable toppings allow for endless creativity. You can add whipped cream, chocolate drizzle, or even a sprinkle of crushed Oreos on top. It’s a showstopper that’s bound to impress anyone you serve it to, while still being simple enough to make on a whim.
So, why should you give this Oreo Pie a try? Because it brings joy, satisfaction, and the sweet simplicity we all crave!
Variations of Oreo Pie
Creating an Oreo Pie isn’t just about following a single recipe; the beauty lies in its endless versatility. Think of all the ways you can take a classic dessert and give it your own spin!
Different Crusts
While a traditional Oreo crust is undeniably delicious, don’t shy away from experimentation. You can use Graham cracker crumbs for a slightly different flavor profile or even a chocolate cookie crust for deep chocolate lovers.
Filling Twists
For the filling, try folding in different ingredients. Imagine peanut butter for a rich, nutty contrast, or cream cheese for a tangy twist. If you’re feeling adventurous, blend in pumpkin puree during the fall for a seasonal treat that still carries that Oreo essence.
Toppings Galore
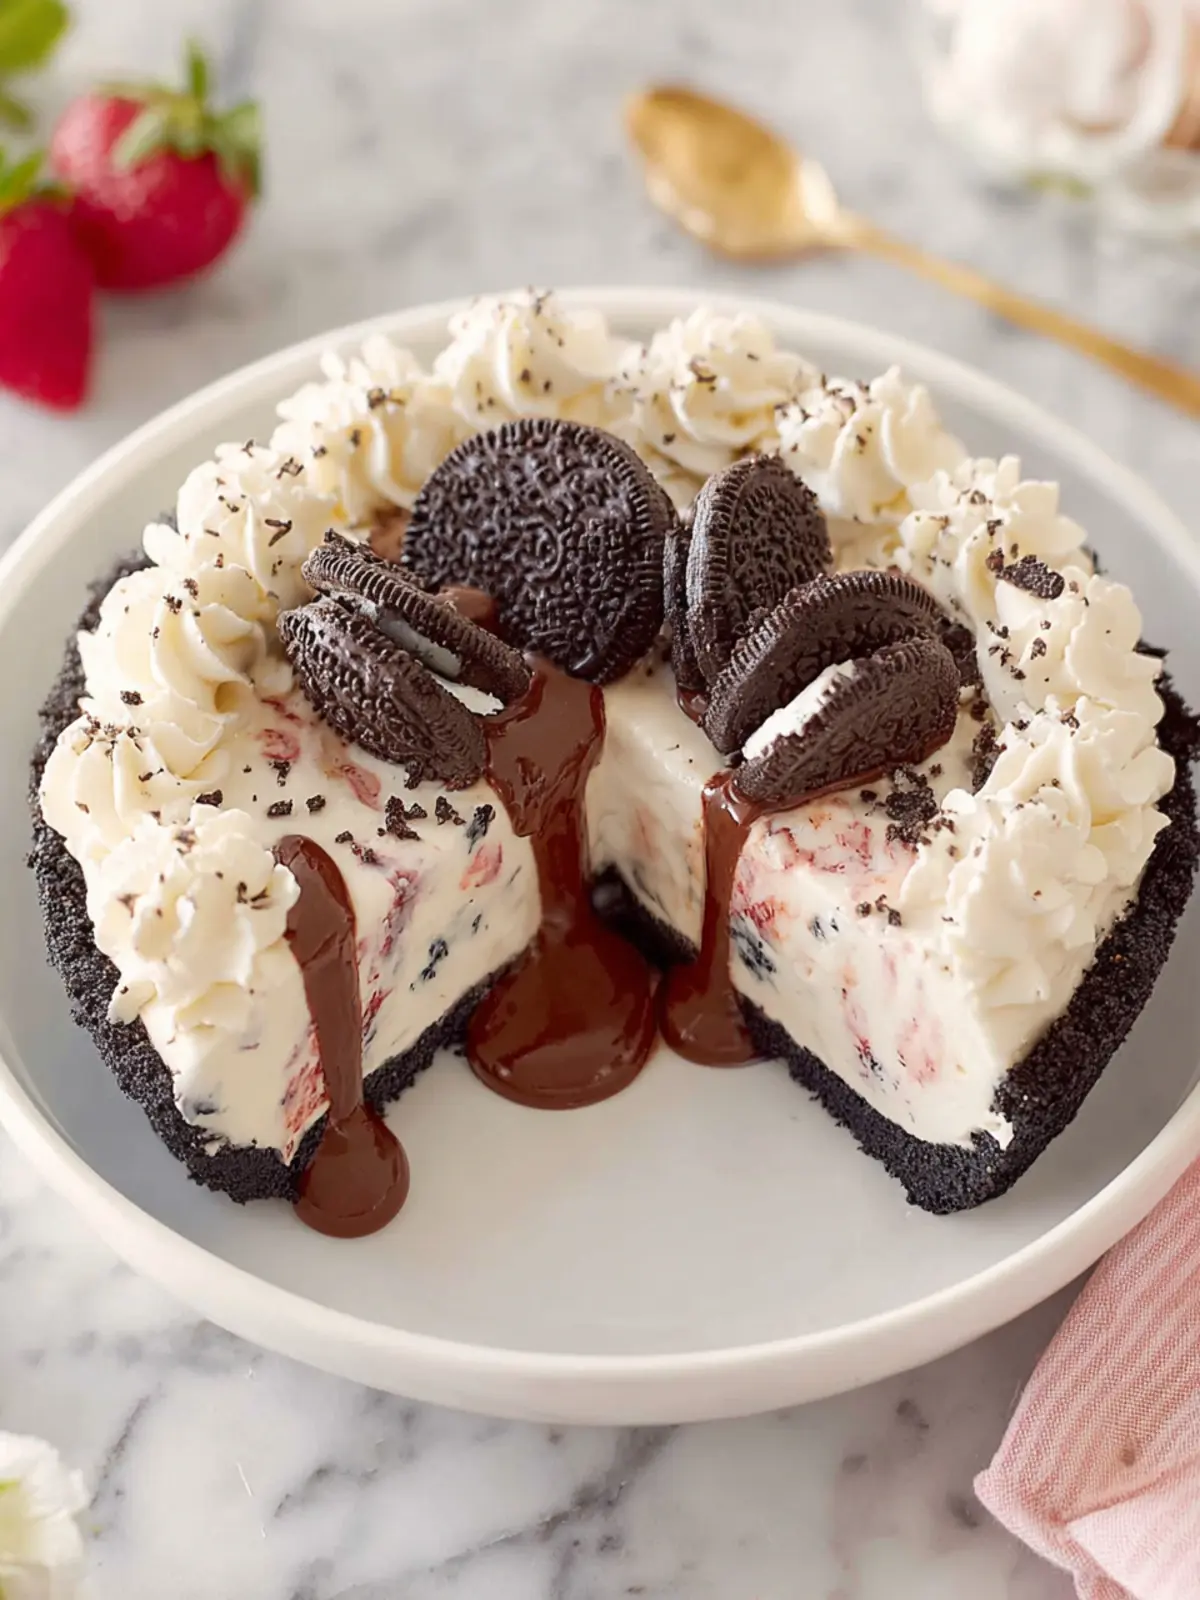
The sky’s the limit when it comes to toppings! Tackle that urge to keep it simple by adding fresh fruit like strawberries or raspberries for a burst of flavor. Whipped cream, chocolate shavings, or even a drizzle of caramel can elevate your Oreo Pie to a whole new level of decadence.
Frozen Delight
For a refreshing take, consider making a frozen version of your Oreo Pie. Just set the pie in the freezer instead of the fridge and let it chill for a cool dessert perfect for hot summer days.
Each variation will unlock new flavors, keeping the classic Oreo Pie fresh and exciting every time you make it.
Cooking Tips for Making Oreo Pie
Creating the perfect Oreo Pie can feel as special as a nostalgic trip down memory lane. The sweet crunch of Oreo cookies blended with creamy filling evokes fond memories of childhood desserts. Here are some friendly tips to ensure your Oreo Pie turns out deliciously every time.
Choose the Right Oreos
Not all Oreos are created equal! While the classic chocolate cookie is the go-to choice, consider experimenting with the many flavored variants available. From vanilla to mint, these flavors can provide a unique twist to your Oreo Pie. Just remember, the key is balancing flavors without overpowering the creamy filling.
Perfecting the Crust
For a truly mouthwatering crust, crush your Oreos into fine crumbs. I usually place them in a zip-top bag and use a rolling pin to get the right consistency. This helps create a smooth and firm base that holds together beautifully. Mixing in melted butter with the crumbs not only binds them but also adds richness. It’s a simple step, but it makes a world of difference.
Make It Chill
After assembling your pie, don’t skip the chilling step! Allow your Oreo Pie to sit in the refrigerator for at least four hours or, if you can wait, overnight. This lets the flavors meld together and gives the filling the right texture. Trust me, a well-chilled pie is the ultimate treat.
With these tips in hand, you’re well on your way to creating an Oreo Pie that dazzles your friends and family. Happy baking!
Serving Suggestions for Oreo Pie
The delightful Oreo Pie is not just a dessert; it’s an experience that beckons to be shared with family and friends. When I first baked this pie, the moment I sliced into it, the combination of creamy filling and crunchy crust made it the star of our dinner table.
Elevating Your Oreo Pie Experience
To elevate your Oreo Pie, consider the following serving suggestions that will leave your guests raving about its unforgettable flavor:
-
Garnish with Whipped Cream: A dollop of freshly whipped cream on each slice not only adds a beautiful presentation but also complements the rich chocolatey flavor of the pie.
-
Add Oreos on Top: For an extra touch of indulgence, sprinkle some crushed Oreos on top of your whipped cream. This adds a pleasing crunch that mirrors the pie’s crust.
-
Serve with Ice Cream: A scoop of vanilla or cookies-and-cream ice cream next to your pie can take the dessert to new heights. The creamy ice cream pairs perfectly with the rich chocolate filling.
-
Drizzle with Chocolate Sauce: A light drizzle of chocolate sauce can intensify the dessert experience. It gives a luxurious look and adds another layer of flavor.
-
Plate with Fresh Berries: Fresh strawberries or raspberries on the side provide a lovely contrast. Their fruity tartness balances the richness of the pie, creating a well-rounded dessert.
With these serving ideas, your Oreo Pie will not just satisfy a sweet tooth; it will be a centerpiece that sparks conversations and creates memories.
Time Breakdown for Making Oreo Pie
Looking to indulge in a creamy Oreo Pie? Here’s an easy time breakdown to set your expectations as you dive into this delicious creation!
Preparation Time
The Oreo Pie comes together in about 20 minutes. This includes crushing the cookies, mixing the filling, and smoothing it all into the crust. It’s a quick thrill that’ll have your taste buds excited in no time!
Freezing Time
Let your creation chill for at least 4 hours in the freezer. This step is crucial for allowing the filling to set, so patience is key here!
Total Time
In total, you’re looking at around 4 hours and 20 minutes from start to finish. But trust me, every moment is worth it when you dig into your creamy, dreamy Oreo Pie.
Nutritional Facts for Oreo Pie
When indulging in a slice of Oreo Pie, it’s essential to understand what makes this delightful dessert so irresistible. This scrumptious treat packs a flavorful punch, but let’s explore what it brings to the table nutritionally.
Calories
One slice of Oreo Pie contains approximately 350 calories. While it’s certainly a treat, savoring it in moderation can let you enjoy its rich flavors without guilt.
Carbohydrates
Each slice has around 40 grams of carbohydrates. Most of these carbs come from the crunchy Oreo crust and creamy filling, making it a sweet delight for those with a sweet tooth.
Fats
The pie is relatively rich, featuring about 20 grams of fat per slice. This is largely due to the cream cheese and whipped topping used in the filling, which also contributes to its luscious texture.
Protein
With approximately 3 grams of protein in each serving, Oreo Pie isn’t a protein powerhouse, but it adds a little boost that complements your dessert experience.
Enjoy your slice of Oreo Pie, and remember, balance is key to enjoying delicious treats!
FAQs About Oreo Pie
When the craving for a delectable Oreo Pie strikes, you might have several burning questions in mind. After all, who wouldn’t want to ensure that their dessert turns out perfectly? Let’s dive into some common queries to help you make the best of your baking experience.
Can I make Oreo Pie ahead of time?
Absolutely! Making an Oreo Pie in advance can actually enhance its flavors. I recommend preparing it a day before your gathering—this allows the flavors to meld beautifully. Just be sure to keep it refrigerated until you’re ready to serve to maintain its texture.
How can I store leftover Oreo Pie?
If you find yourself with leftovers (though that’s not always the case with this tasty dessert!), it’s crucial to store them right. Cover the pie with plastic wrap or aluminum foil, or transfer slices into an airtight container. Properly stored, your Oreo Pie can last in the refrigerator for about 3-4 days. It’s a wonderful treat to look forward to after dinner!
Can I use other cookies for the crust?
While the classic Oreo Pie crust is unbeatable, feel free to experiment! You can use other chocolate sandwich cookies or even graham crackers for a different flavor profile. The key is to ensure the cookies are finely crushed to form a consistent base. Just remember, each cookie type may slightly alter the taste and texture, but it’s all part of the fun of baking!
Incorporating these tips can help you enjoy a smooth baking experience with your Oreo Pie. Happy baking!
Conclusion on Oreo Pie
In closing, the delightful experience of making Oreo Pie isn’t just about savoring its rich, creamy texture or the satisfying crunch of the cookie crust. This dessert is a conversation starter, a nostalgic nod to childhood favorites, and a showstopper at gatherings. It’s incredible how simple ingredients can come together to create such a crowd-pleaser. As you slice into your homemade pie, let the chocolatey aroma transport you back to those carefree days. Whether it’s for a birthday, a celebration, or just a casual Tuesday, Oreo Pie promises smiles and satisfied taste buds. Enjoy every bite!
Print
Oreo Cream Cheese Pie
- Total Time: 6 hours 30 minutes
- Yield: 8 servings 1x
- Diet: Vegetarian
Description
A delicious no-bake Oreo cream cheese pie topped with whipped cream and more Oreos.
Ingredients
Scale
- 24 Oreos (crushed, 275g)
- ¼ cup unsalted butter (melted, 56g)
- 1 cup heavy whipping cream (240mL)
- 1 (8-ounce) block cream cheese (room temperature, 226g)
- ¾ cup confectioners’ sugar (90g)
- 1½ teaspoons vanilla extract
- 20 Oreos (chopped, plus more for garnish, 230g)
- Whipped cream (for serving)
Instructions
- Lightly spray a 9-inch pie pan with cooking spray.
- In the bowl of a food processor, process the Oreos until finely ground, about 30-45 seconds. Place in a medium bowl, and stir in the melted butter until well combined. Press the mixture into the bottom and sides of the pie pan. Freeze while preparing filling, or at least 30 minutes and up to 3 days.
- In a large bowl using a handheld electric mixer, beat the cream on medium-high speed until stiff peaks form, about 2 minutes.
- In another large bowl, beat the cream cheese on medium-high speed until smooth and fluffy, about 2 minutes. (No need to clean beaters between the cream and cream cheese.) Add the confectioners’ sugar and vanilla, beating until smooth, about 1 minute.
- Gently fold in the whipped cream and chopped Oreos until combined. Spoon the filling into the frozen crust, spreading it into an even layer. Loosely cover and refrigerate until set, at least 6 hours or up to 2 days.
- When ready to serve, top with additional whipped cream and Oreos, if desired.
Notes
- This pie can be made ahead of time and stored in the refrigerator.
- Feel free to add more Oreos on top for decoration before serving.
- Prep Time: 30 minutes
- Cook Time: 0 minutes
- Category: Dessert
- Method: No-bake
- Cuisine: American
Nutrition
- Serving Size: 1 slice
- Calories: 380
- Sugar: 24g
- Sodium: 250mg
- Fat: 28g
- Saturated Fat: 18g
- Unsaturated Fat: 8g
- Trans Fat: 0g
- Carbohydrates: 32g
- Fiber: 2g
- Protein: 4g
- Cholesterol: 60mg