Follow Me On Social Media!

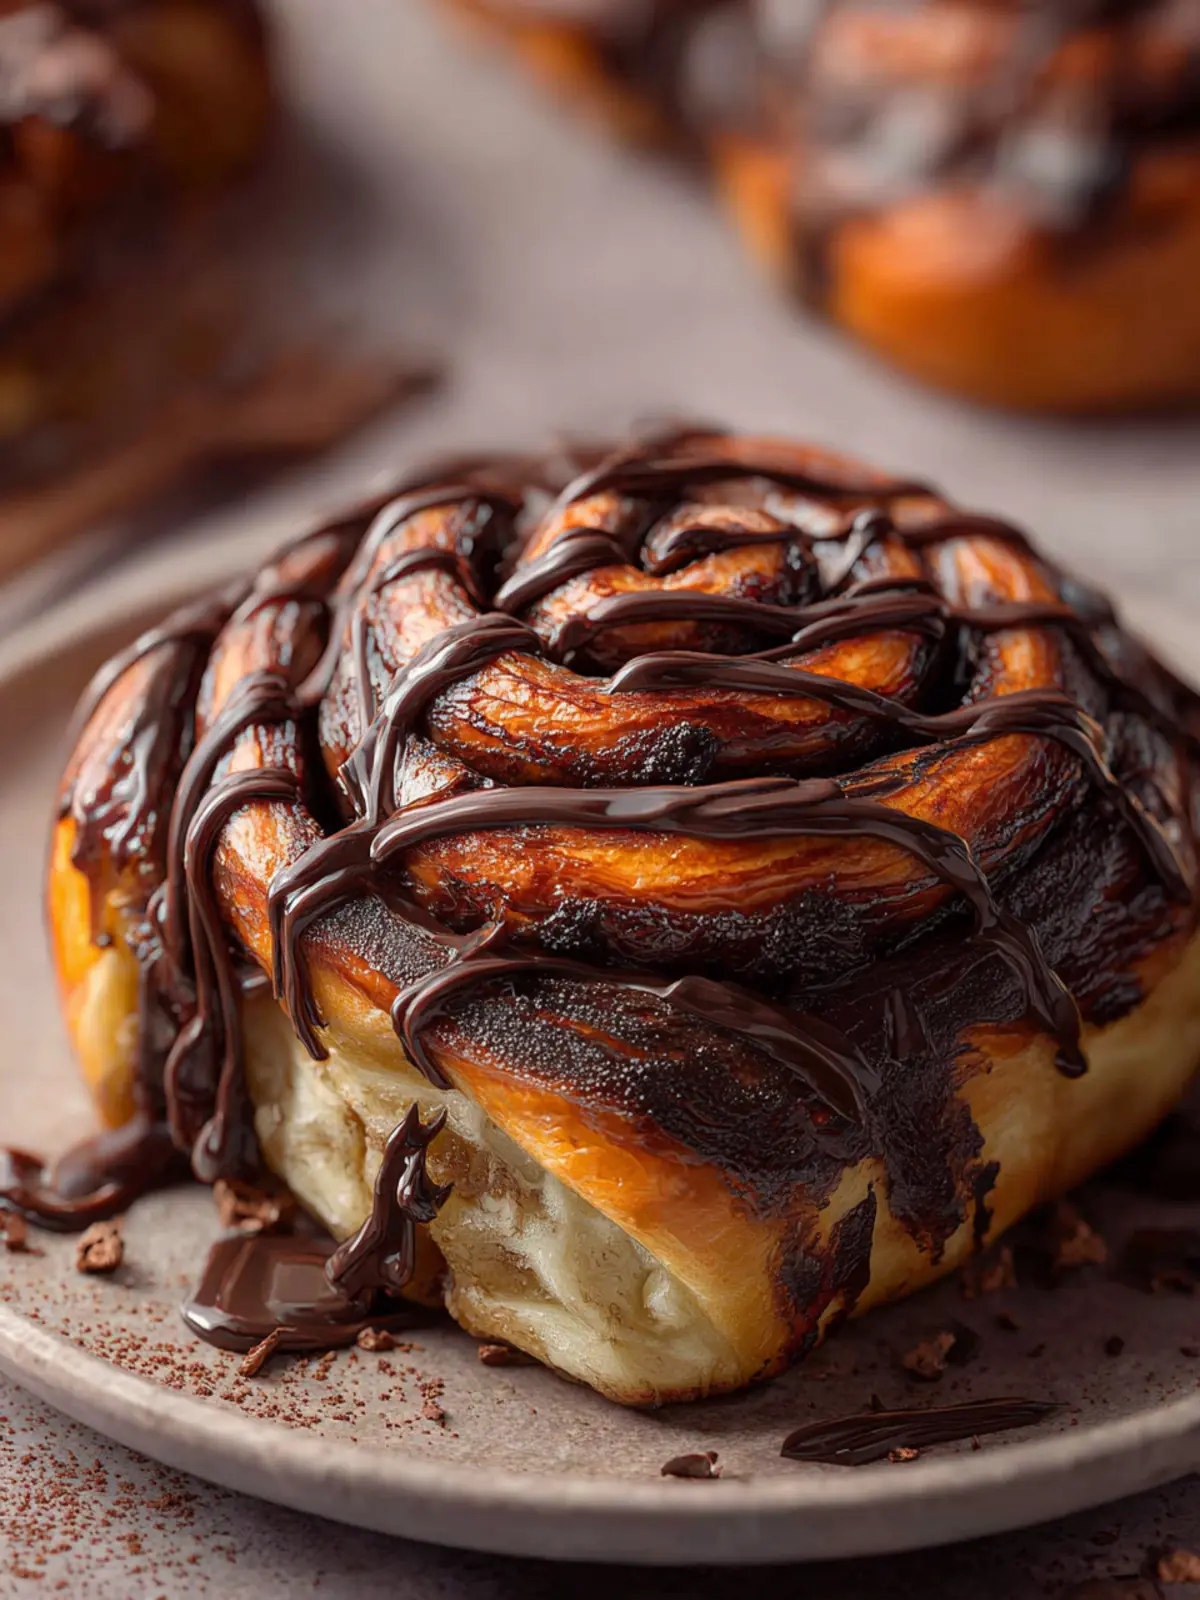
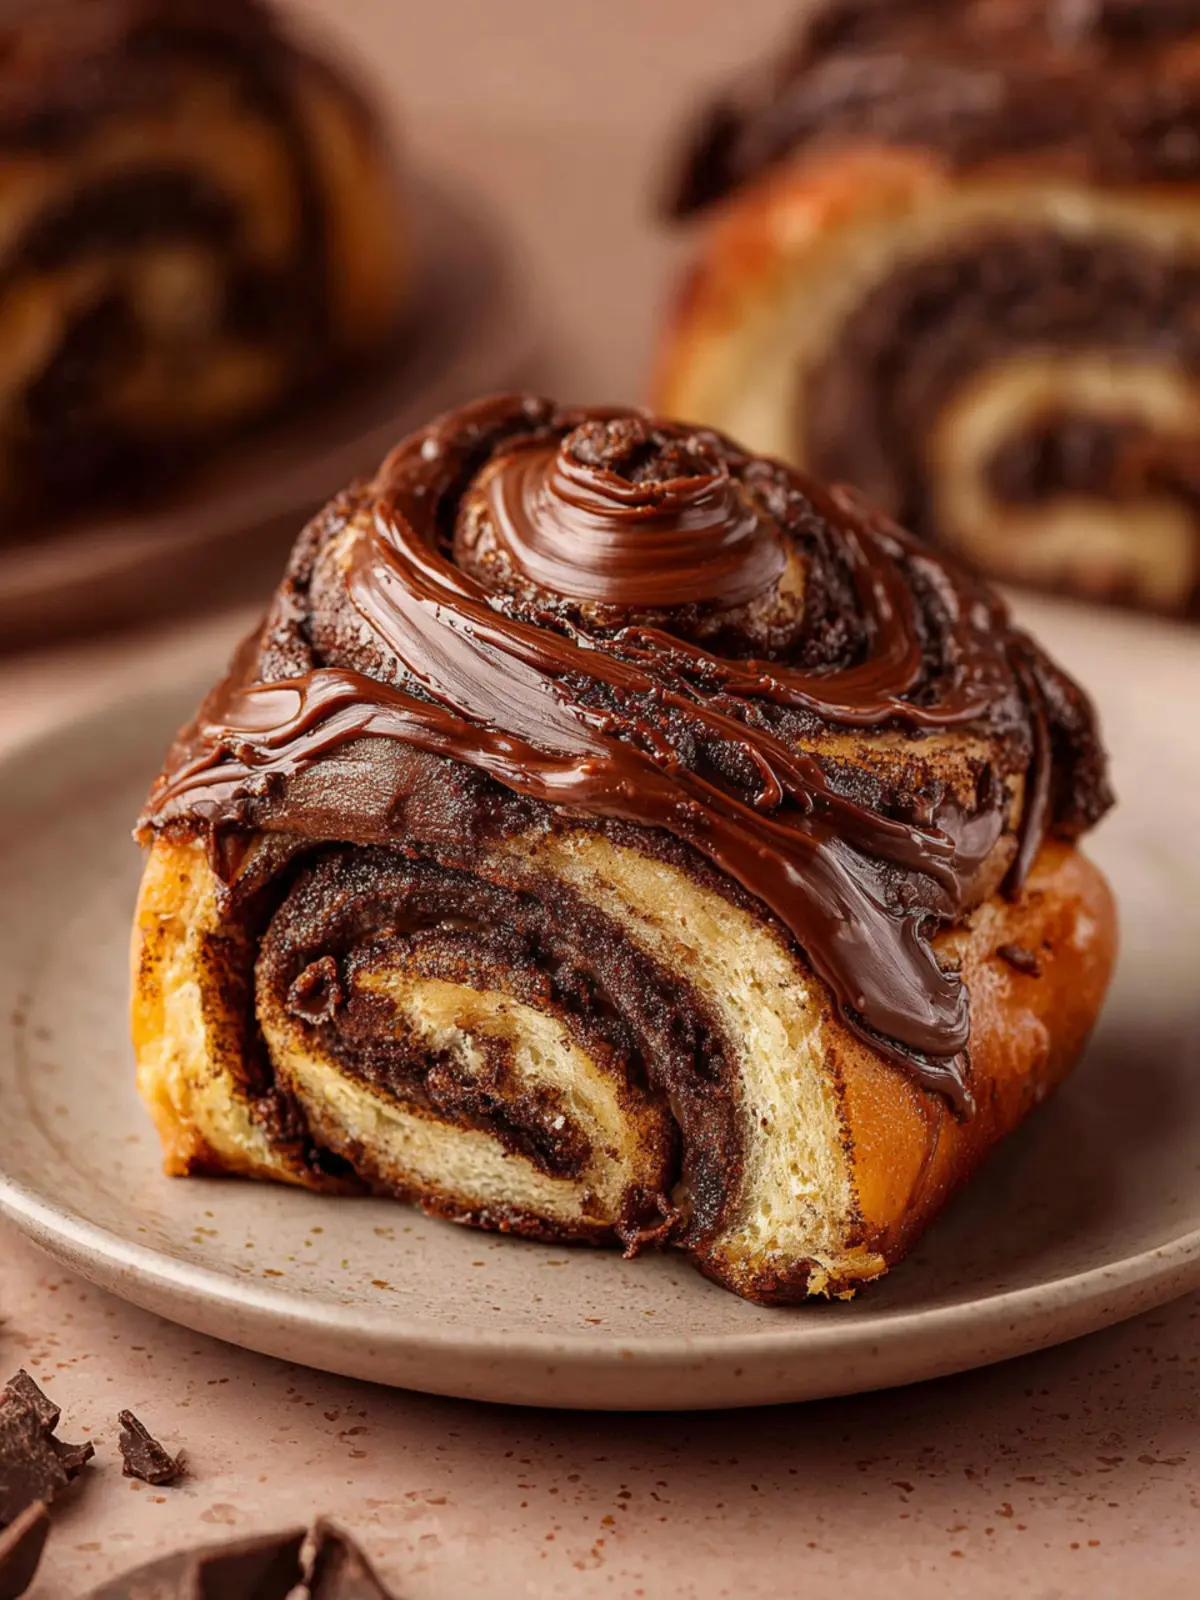
Chocolate Rolls That Will Make You Forget Fast Food
Introduction to Chocolate Rolls
From the moment that warm, chocolatey aroma wafts through your kitchen, you’ll find it hard to resist the allure of chocolate rolls—a delightful treat that’s both comforting and indulgent. Picture this: you’ve just returned home after a long day, and the sweet scent of baking chocolate fills the air, beckoning you to take a bite. It’s as if these rolls have the power to transform an ordinary evening into something truly special.
Whether you’re entertaining friends or simply indulging in a quiet evening with yourself, chocolate rolls have a unique way of bringing joy to any moment. Their soft, pillowy texture paired with rich chocolate makes them a perfect combination of flavors and textures. Plus, they cater to the chocolate lover in all of us, perfectly capturing that harmonious balance between sweetness and warmth.
What makes Chocolate Rolls irresistible?
-
Decadent Filling: The rich chocolate filling provides a burst of flavor with every bite. The melted chocolate mingles with the dough, creating an experience that’s more than just a treat; it’s an adventure for your taste buds.
-
Perfectly Soft Texture: The light and fluffy dough, achieved through a careful baking process, makes every roll seem like a cloud of chocolate bliss. You’ll find it hard to stop at just one!
-
Versatile Delight: Whether served warm with a dollop of whipped cream for dessert, or as a naughty breakfast paired with coffee, chocolate rolls are versatile enough to shine in any role.
-
A Fun Baking Experience: Making chocolate rolls isn’t just about the end product; it’s about the joy of mixing, rolling, and baking. It’s a perfect recipe for both novice bakers and seasoned pros who enjoy exploring their baking skills.
So why not treat yourself and your loved ones to the delight of fresh, homemade chocolate rolls? As you embark on this baking journey, you’ll discover a world of flavor and comfort wrapped in those sweet, warm layers. Get excited to bring a little chocolatey joy into your home!
Key Ingredients for Chocolate Rolls
When crafting chocolate rolls, each ingredient plays a pivotal role in creating the decadent flavor and fluffy texture that make this dessert unforgettable. Understanding what goes into your recipe can elevate your baking game.
-
Flour: I prefer using all-purpose flour as it provides the ideal structure for our chocolate rolls. It’s versatile and gives a light texture that allows for easy rolling and wrapping.
-
Cocoa Powder: Unsweetened cocoa powder is the star ingredient, imparting that rich chocolate essence. For the best taste, opt for high-quality cocoa; it makes a noticeable difference.
-
Butter: Melted butter is essential not only for moisture but also for flavor. It enriches the dough, making the chocolate rolls irresistibly tender.
-
Eggs: They act as a binding agent while also contributing to the rolls’ airy texture. Make sure to use room temperature eggs for the best incorporation.
-
Sugar: Granulated sugar offers the perfect sweetness balance while also helping the rolls to rise during baking.
-
Milk: Adding milk creates a soft dough, enhancing the overall richness of your rolls. Whole milk works best, but you can substitute with a non-dairy alternative if needed.
-
Yeast: Instant yeast helps our dough to rise beautifully, resulting in pillowy chocolate rolls ready for indulgence.
By focusing on these key ingredients, your chocolate rolls are bound to be a delightful treat that impresses anyone lucky enough to enjoy them!
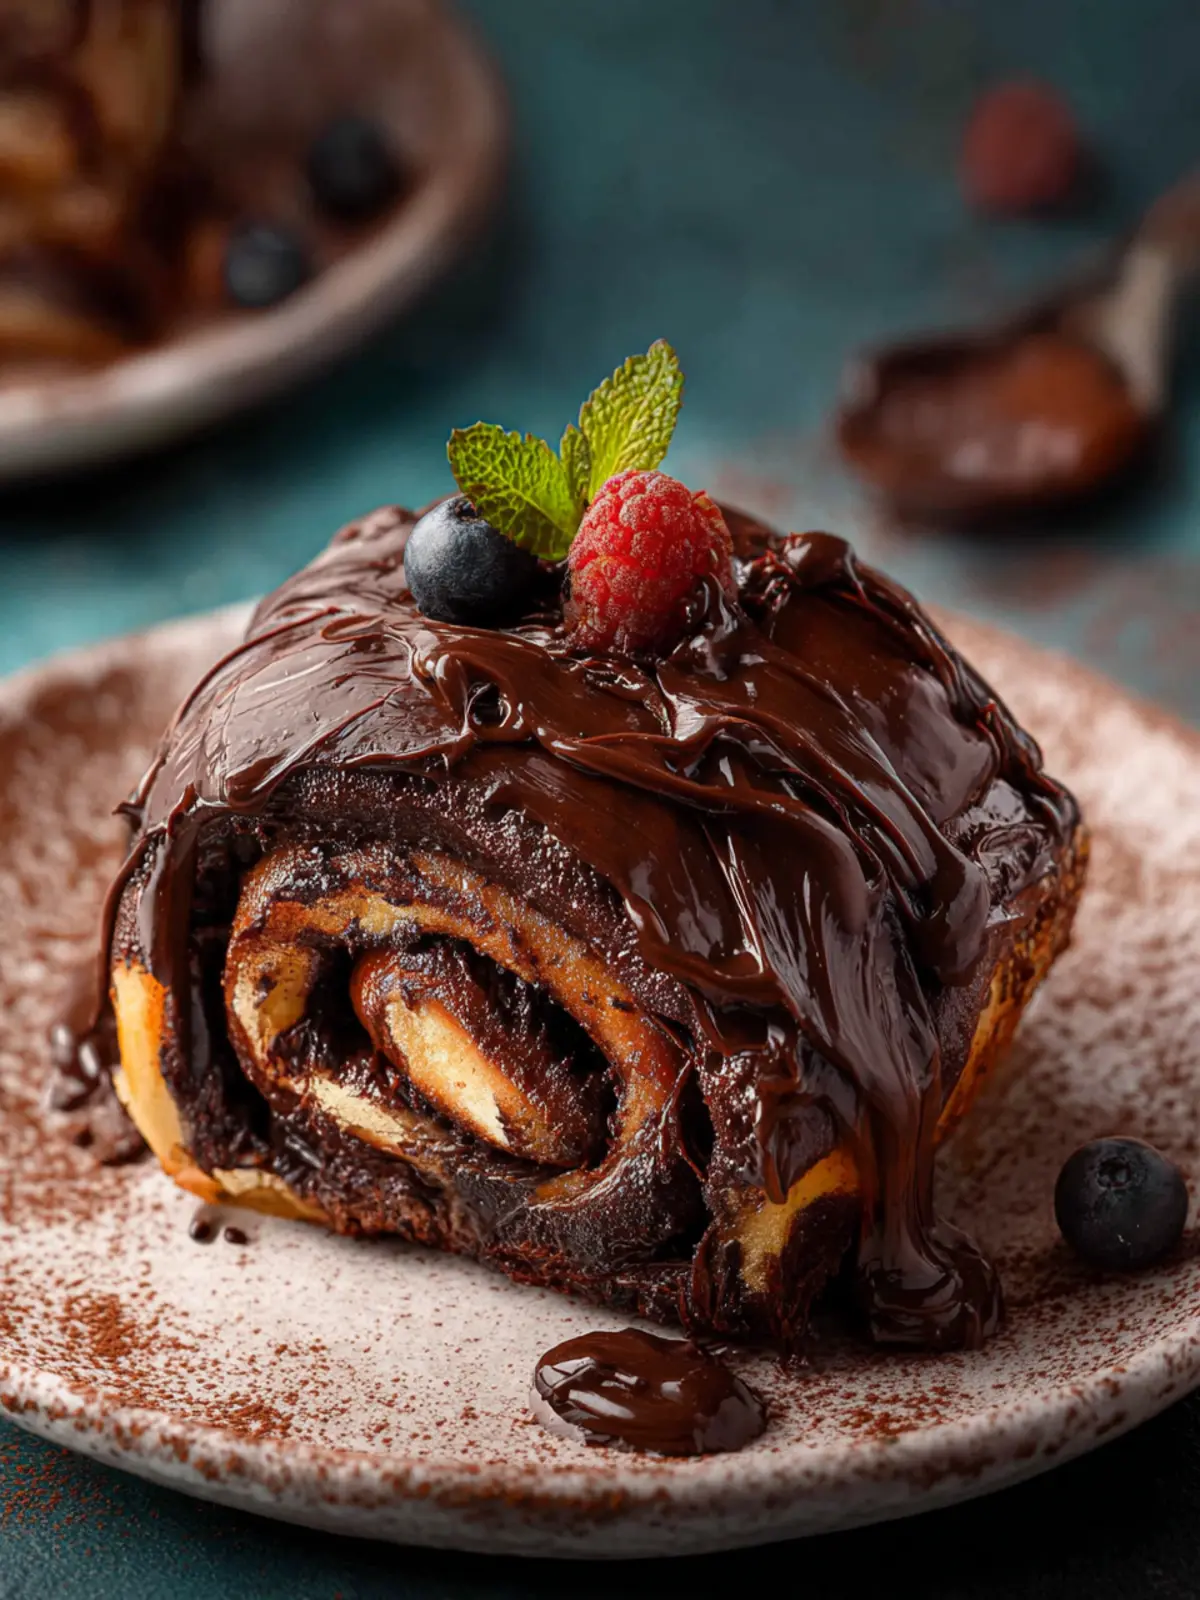
Why You’ll Love These Chocolate Rolls
Picture coming home after a long day, and then inhaling the irresistible aroma of freshly baked chocolate rolls. These delightful treats are more than just a dessert; they evoke a sense of comfort and warmth that brings back childhood memories of baking adventures in the kitchen. Each roll is a soft, fluffy embrace filled with rich chocolate goodness that will have you reaching for seconds (or thirds) without hesitation.
Decadent Chocolatey Goodness
The true star of these chocolate rolls is the rich, velvety chocolate filling. As it bakes, the chocolate melts into gooey perfection, creating a luscious experience that no chocolate lover can resist. Want to impress your friends at your next gathering? Bring these rolls, and watch as they disappear within minutes!
So Simple, Yet So Satisfying
What makes these chocolate rolls so appealing is their simplicity. With just a handful of ingredients, you can create a masterpiece that looks as good as it tastes. No need to be an expert baker; even novices will find joy in rolling up this delectable dough.
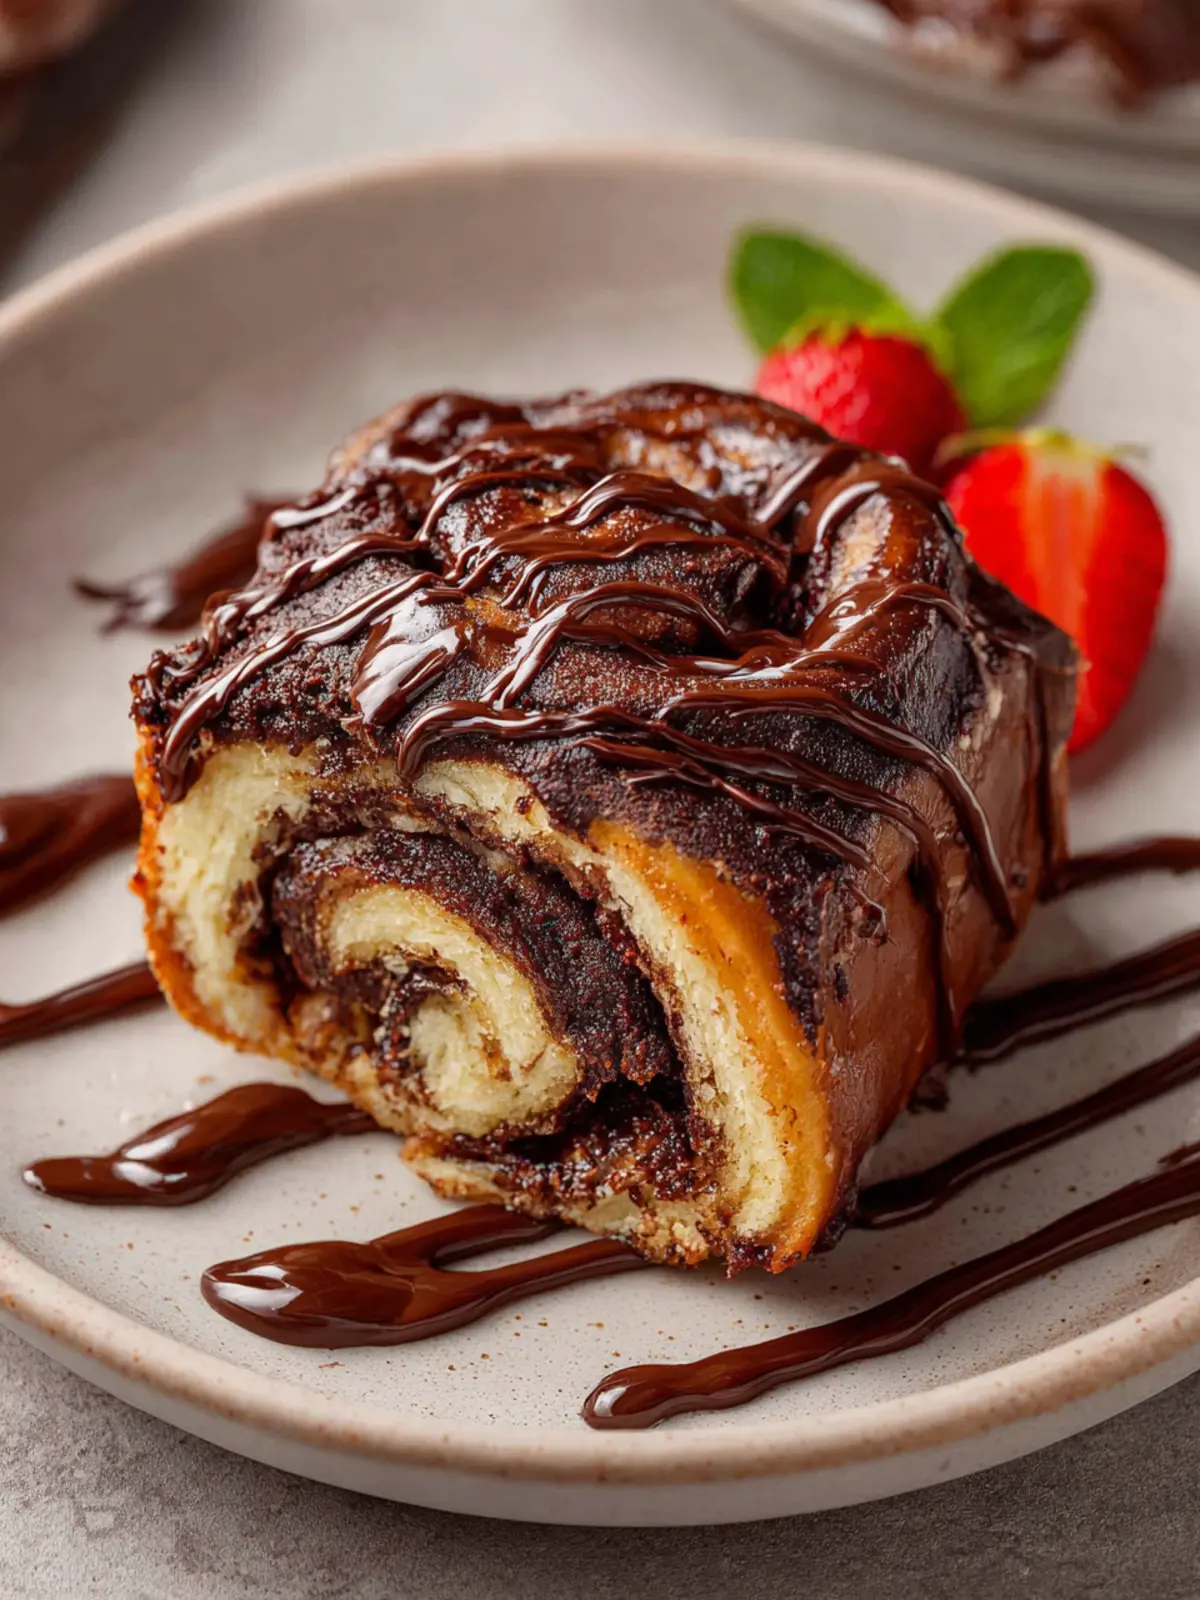
Perfect Pairing for Any Occasion
Whether it’s a cozy weekend brunch, a festive holiday gathering, or just because you love chocolate, these rolls are versatile enough to fit any occasion. Serve them warm, dusted with powdered sugar, or alongside a scoop of ice cream for an extra indulgent treat. You’ll find yourself reminiscing about these moments long after the last roll has been devoured.
In short, once you try these chocolate rolls, you’ll understand why they are destined to become a beloved staple in your home.
Tips for Making Perfect Chocolate Rolls
Creating chocolate rolls that wow your friends and family is an art, and a few helpful tips can take your baking from good to great!
Quality Ingredients Matter
Start with high-quality cocoa powder and chocolate. The flavor difference is night and day. I always opt for unsweetened cocoa powder and dark chocolate, which provide a rich depth you won’t find in cheaper alternatives.
Mastering the Dough
The key to achieving the perfect texture lies in your dough. Be gentle when mixing; overworking the dough can lead to tough rolls. That’s why hand mixing is often the best method for a light, airy result.
Proper Rolling Technique
When rolling your dough, take care to create a tight roll without squeezing too hard. If it’s too loose, the filling won’t stay put. Using a light dusting of flour can help prevent sticking as you roll.
Rise and Shine
Allow your chocolate rolls to rise properly before baking. If you’re in a hurry, preheating your oven and placing the rolls near it can speed up the process. This ensures a beautifully fluffy texture.
Cool Before Frosting
Don’t rush the cooling process! Applying frosting to warm rolls can cause it to melt right off, rather than creating that delicious, gooey layer we all crave.
By keeping these tips in mind, you’ll be well on your way to baking the perfect chocolate rolls that are sure to impress!
Time Details for Chocolate Rolls
When indulging in the delightful process of making chocolate rolls, knowing how much time to allocate can make all the difference. Your kitchen will soon be filled with the sweet aroma of freshly baked chocolate.
Preparation Time
The preparation of the dough and filling typically takes about 30 minutes. This is a wonderful window to gather your ingredients and let your creativity shine.
Rising Time
Once your dough is ready, it needs time to rise. Expect to let it rest for about 1 to 1.5 hours. This step is crucial for achieving that light and fluffy texture in your chocolate rolls.
Baking Time
The baking time usually runs for about 20 to 25 minutes. You’ll want to keep a close eye on them to ensure they turn a lovely golden brown.
Total Time
In total, you’re looking at approximately 2 to 2.5 hours from start to finish. The delicious reward of biting into a warm, gooey chocolate roll is worth every minute spent!
Nutritional Information for Chocolate Rolls
When indulging in chocolate rolls, it’s essential to know not just how delightful they taste but also what they bring to your plate. These decadent treats can satisfy your sweet cravings while also offering a range of nutritional benefits.
Calories
Each serving of chocolate rolls typically contains around 200-250 calories. This allows you to enjoy a rich flavor without feeling overly indulgent, making them an ideal dessert for gatherings or a little personal treat.
Protein
You can expect approximately 5 grams of protein per roll. While they are not a primary source, the inclusion of eggs and milk in the recipe brings a small boost to your daily protein intake, particularly valuable for those balancing dessert with nutritional needs.
Sodium
These delightful rolls usually contain about 150-200 mg of sodium. This level is quite moderate, allowing you to indulge without significant concern for salt intake, but always good to check if you’re monitoring your sodium for dietary reasons.
Understanding the nutritional profile of chocolate rolls helps you enjoy them as part of a balanced approach to indulgence. Whether serving at a brunch or divvying up for a cozy movie night, these rolls can certainly feature in your culinary repertoire!
FAQs about Chocolate Rolls
When the thought of chocolate rolls comes to mind, it’s hard not to imagine a warm, gooey treat that fills the kitchen with the irresistible aroma of baked goodness. To help you create the perfect batch of these delightful rolls, here are some frequently asked questions.
How can I make my Chocolate Rolls fluffier?
To achieve fluffier chocolate rolls, focus on the dough’s hydration and yeast activation. Ensure your yeast is fresh and active before mixing it into the dough. Incorporate enough liquid so that the dough is soft but not sticky. Letting the dough rise adequately during both the first and second proofs is crucial; this process allows the yeast to do its magic, resulting in a light, airy texture. Lastly, consider adding a bit more milk or an egg to the dough for additional moisture and richness.
Can I prepare the dough in advance?
Yes, preparing the dough in advance is a great time-saver! You can make the dough the night before and refrigerate it instead of letting it rise at room temperature. Just cover it tightly with plastic wrap to prevent it from drying out. When you’re ready to bake, allow the dough to come to room temperature and rise for a little while before shaping and baking your chocolate rolls.
What’s the best way to store leftover Chocolate Rolls?
To keep your chocolate rolls fresh, store them in an airtight container at room temperature for up to three days. If you want to extend their shelf life, consider freezing them. Wrap each roll tightly in plastic wrap, then place them in a freezer-safe bag. When you’re ready to enjoy them again, simply thaw at room temperature and warm them in the oven for that fresh-baked taste.
Conclusion on Chocolate Rolls
In wrapping up our adventure into the world of chocolate rolls, it’s clear that this delightful treat brings warmth and joy to any occasion. With a soft, pillowy texture wrapped around a rich chocolate filling, every bite is a moment of indulgence. Whether you’re making them for a cozy evening at home or a gathering with friends, these rolls are sure to impress. Remember to embrace the process—each step is a chance to create something special. So put on your apron, gather your loved ones, and let the aroma of freshly baked chocolate rolls fill your space, making sweet memories one roll at a time.
Print
Homemade Cinnamon Rolls
- Total Time: 2 hours
- Yield: 12 rolls 1x
Description
Delicious homemade cinnamon rolls with a soft and chewy texture, perfect for breakfast or dessert.
Ingredients
Scale
- 1 cup (240 ml) milk (lukewarm, about 120-130°F)
- 2 ¼ teaspoons instant yeast
- ⅓ cup (100 g) granulated sugar (divided)
- 2 large eggs (room temperature)
- 6 Tablespoons (85 g) unsalted butter (melted and slightly cooled, not hotter than 110F)
- 4–5 cups (480 – 600 g) all-purpose flour (spooned and leveled)
- 1 teaspoon salt
- ½ cup (113 g, 1 stick) unsalted butter (softened to room temperature)
- ½ cup (64 g) powdered sugar
- ¼ cup (21 g) Dutch-process cocoa powder
- ½ teaspoon vanilla extract
- 4 ounces semi-sweet or bittersweet chocolate (chopped)
- 1 cup (113 g) powdered sugar
- ¼ cup (21 g) Dutch cocoa powder
- ½ teaspoon vanilla extract
- 3–4 Tablespoons milk (or heavy cream)
Instructions
- Proof yeast. In your stand mixer, or large bowl, stir together the warmed milk, yeast, and 1 teaspoon of the sugar. Let sit for 5-10 minutes until the yeast mixture becomes foamy and bubbly.
- Make dough. In a bowl of your stand mixer with a paddle attachment, add in the eggs and melted butter and stir to combine. Then add in the rest of the sugar, flour, and salt, and stir to combine until a shaggy dough comes together.
- Knead the dough. Fit the mixer with a dough hook attachment and knead at medium speed for 6-8 minutes. If the dough is super sticky, add additional flour a little at a time if needed. If you are kneading the dough by hand, turn the dough out onto a lightly floured surface and knead for 8-10 minutes by hand.
- Let the dough rise. Lightly grease a large bowl and place dough into the bowl, turning once to coat. Cover the bowl and allow it to rise until doubled in size, about 1 to 1 1/2 hours.
- Prepare Pan. Grease a 9×13 baking pan with non-stick spray or butter.
- Make filling. Place butter, sugar, cocoa, and vanilla in a mixing bowl and beat until combined. It should be a very soft paste that you will be able to spread easily.
- Roll out the dough. Turn the dough out onto a lightly floured surface and roll out the dough into a 18×12 inches rectangle.
- Spread filling. Spread the dough with the softened butter mixture leaving about a ½-inch border at the top long edge. Sprinkle the chopped chocolate over the butter, pressing down lightly to adhere.
- Cut rolls. Starting on the long edge with filling, roll up the dough tightly into a log. Pinch the dough to seal. Using a serrated knife cut the log into 12 equal rolls.
- Let rise again. Cover the baking dish and let rise in a warm, draft-free place for 45 minutes until the rolls are slightly puffy and nearly doubled in size.
- Bake rolls. Near the end of the second rise time, position a rack in the center of your oven and preheat the oven to 350°F/177°C. Bake rolls in the preheated oven for 30-35 minutes until golden brown. Let cool in the pan for about 20 minutes, then spread the glaze on.
- Make the glaze. In a small bowl whisk together the powdered sugar, cocoa powder, vanilla, and milk. Adjust the consistency if needed by adding a bit more milk. Spread on top of the cinnamon rolls.
Notes
- Do not use more than 5 cups of flour and do not over-knead or your dough will become dense and chewy.
- If using active dry yeast, the rise time will be longer.
- Prep Time: 30 minutes
- Cook Time: 30-35 minutes
- Category: Breakfast
- Method: Baking
- Cuisine: American
Nutrition
- Serving Size: 1 roll
- Calories: 250
- Sugar: 10g
- Sodium: 130mg
- Fat: 10g
- Saturated Fat: 6g
- Carbohydrates: 35g
- Fiber: 1g
- Protein: 4g
- Cholesterol: 50mg